today i have been following this thread http://www.passatworld.com/forums/showt ... p?t=264728
I decided though to do it a little bit more stealth
Its a harder process but im glad i took it on, anyway here are the pics and guide
I brought my 5mm leds from ebay pre-wired
Start by taking off the door cards and removing the handles ( plenty of guides around for that )
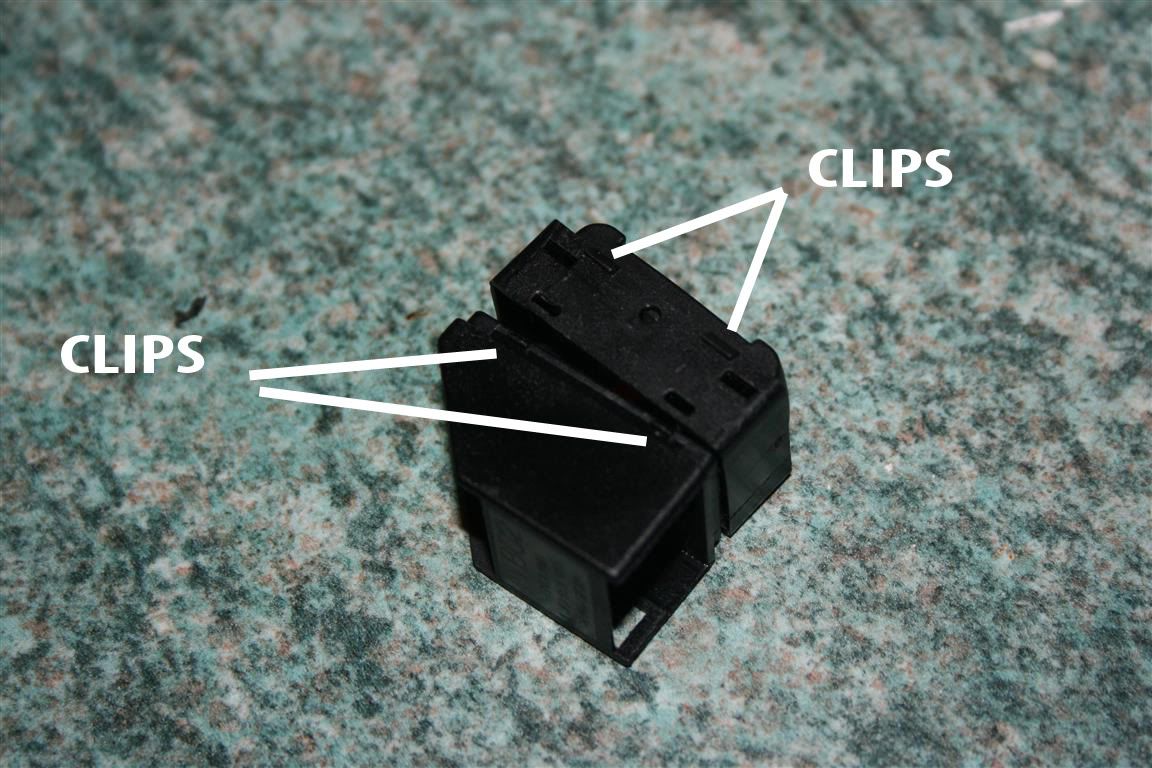
Then remove the wing mirror switch
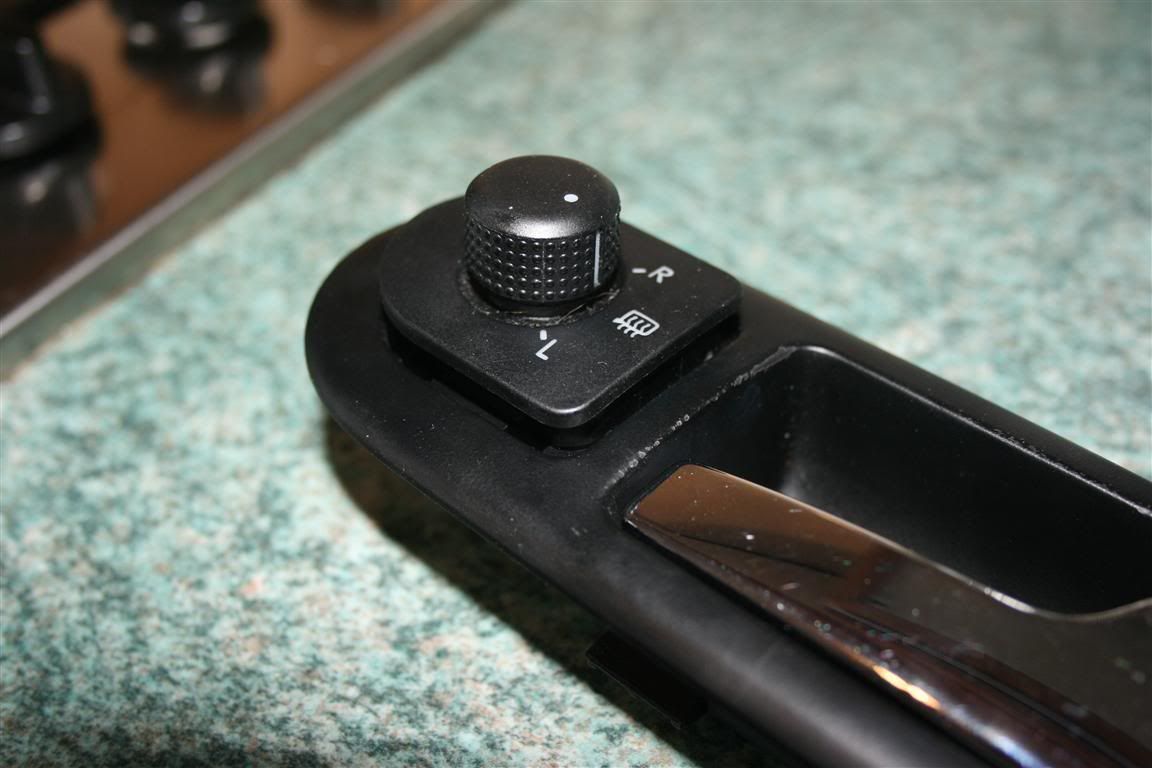
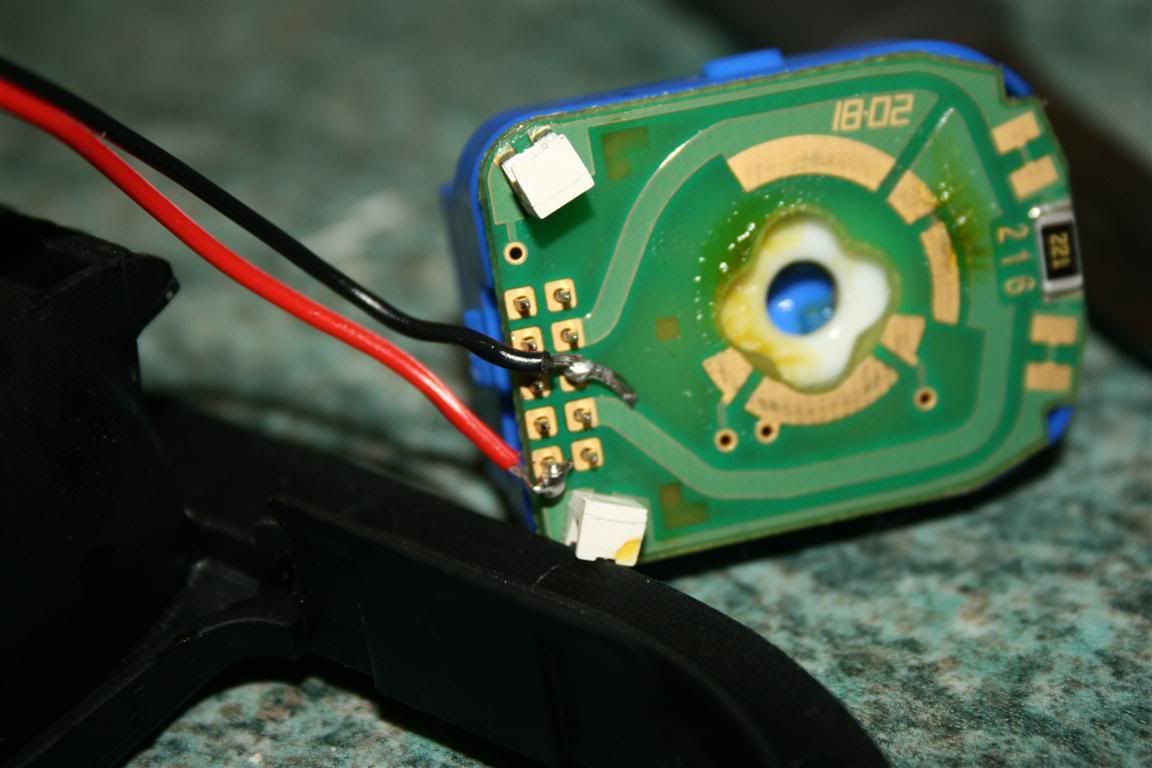
You need to remove the top casing from this switch its held in place by 4 tabs easily removed by a sharp kitchen knife
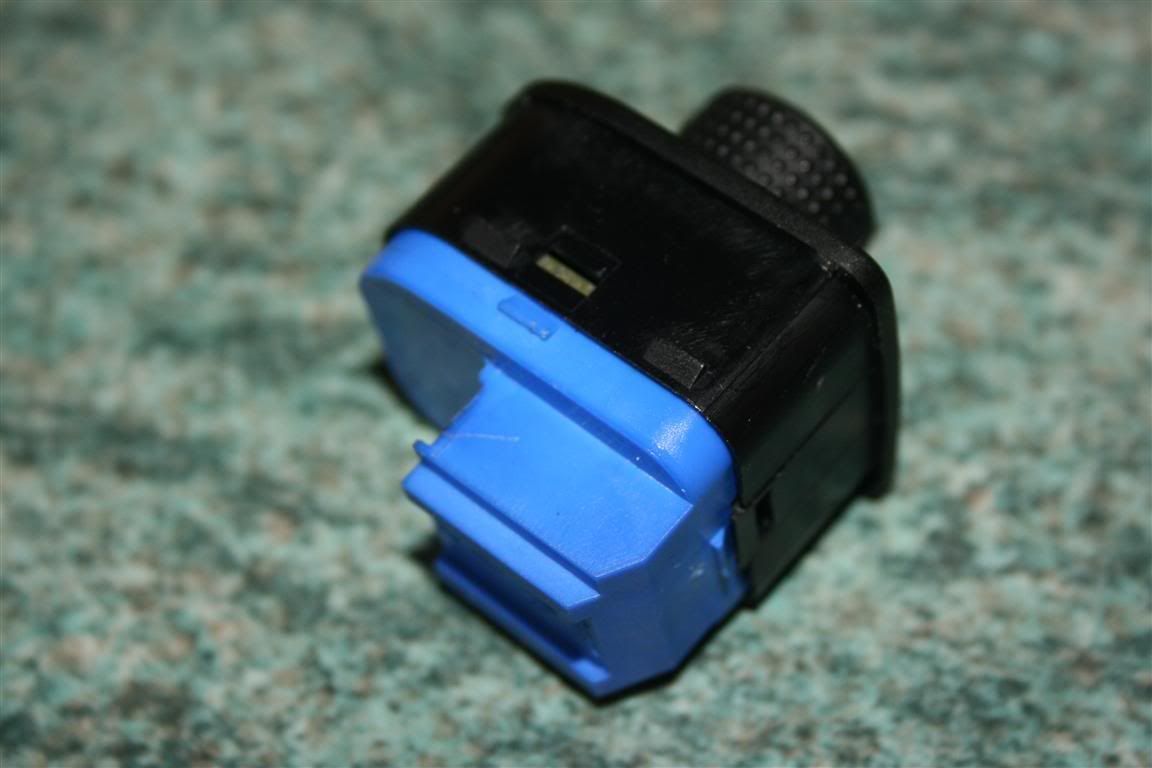
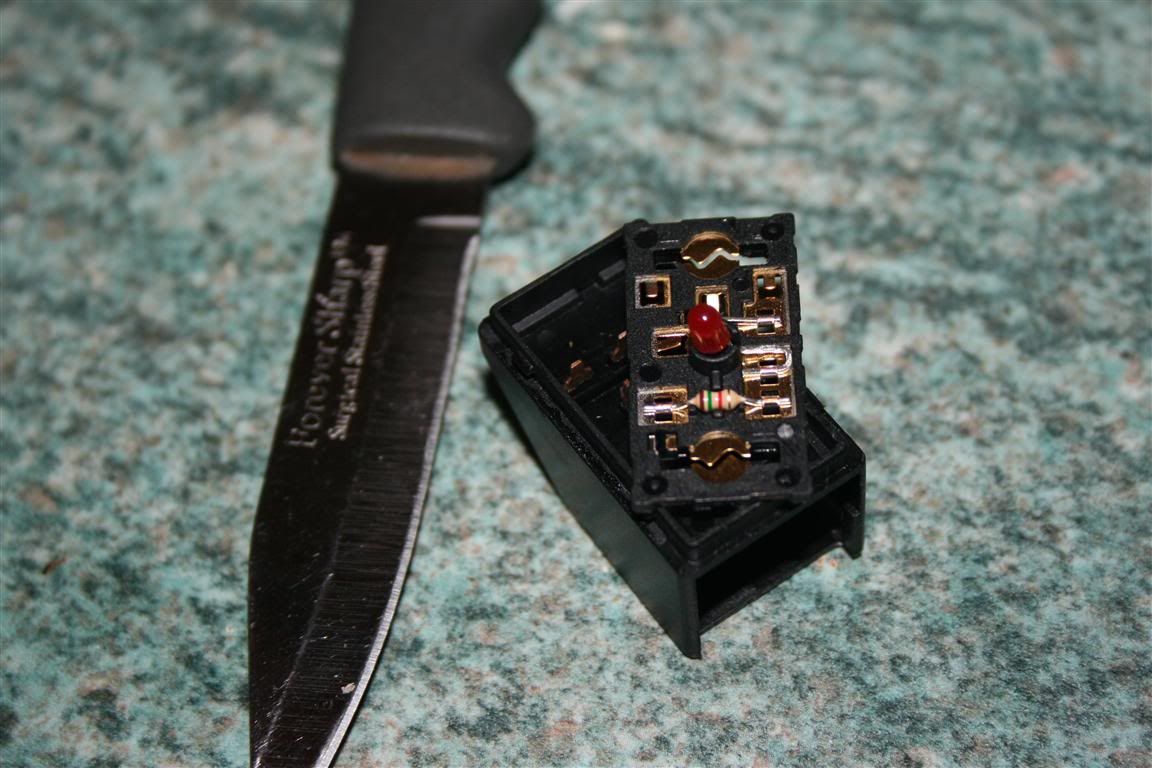
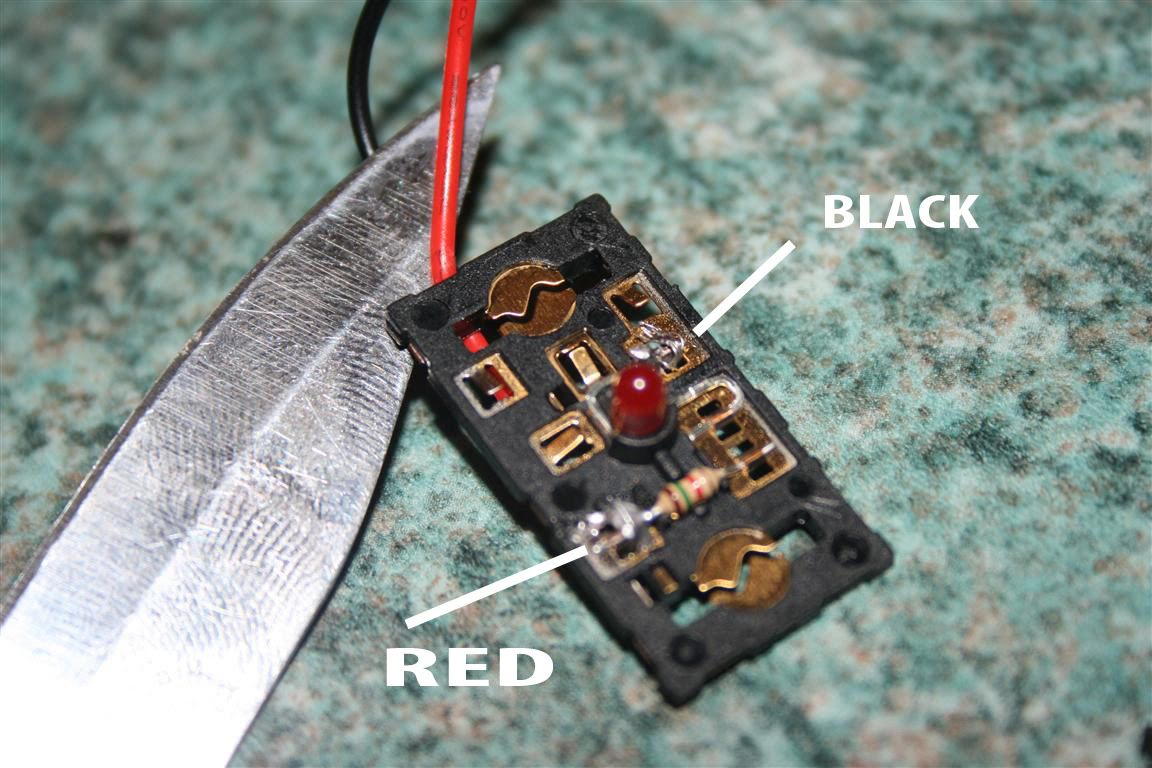
An inside shot of the switch
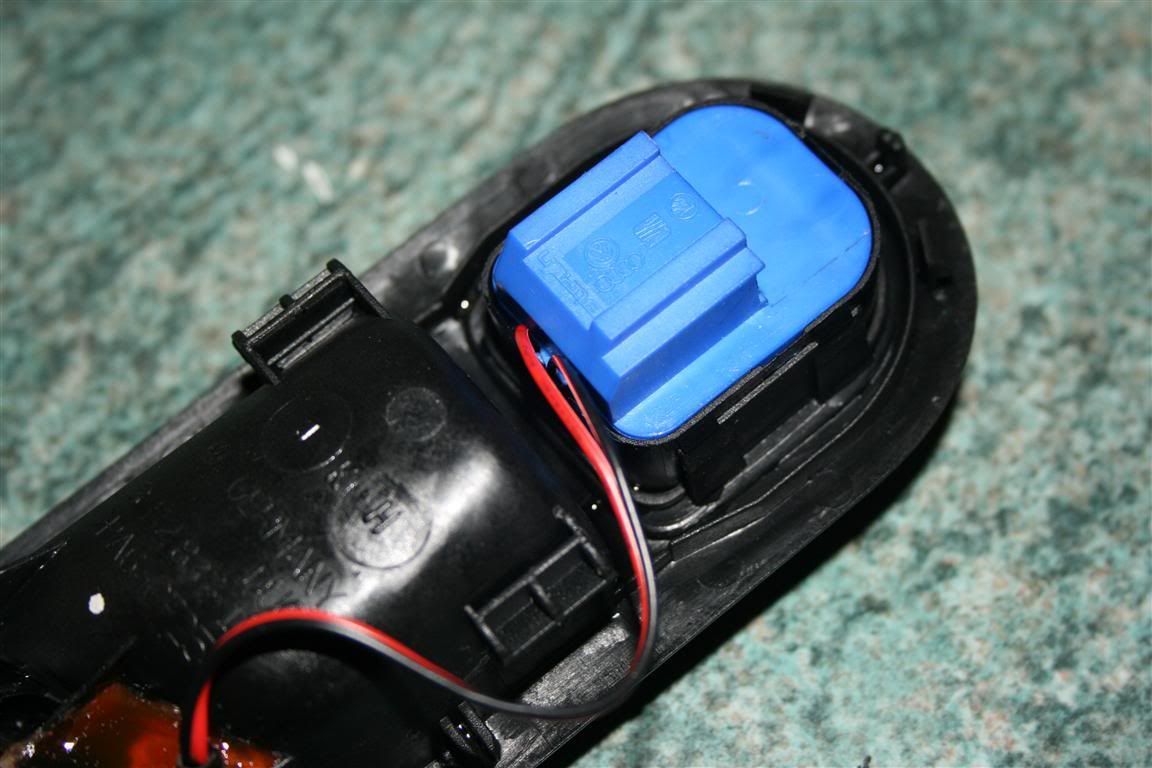
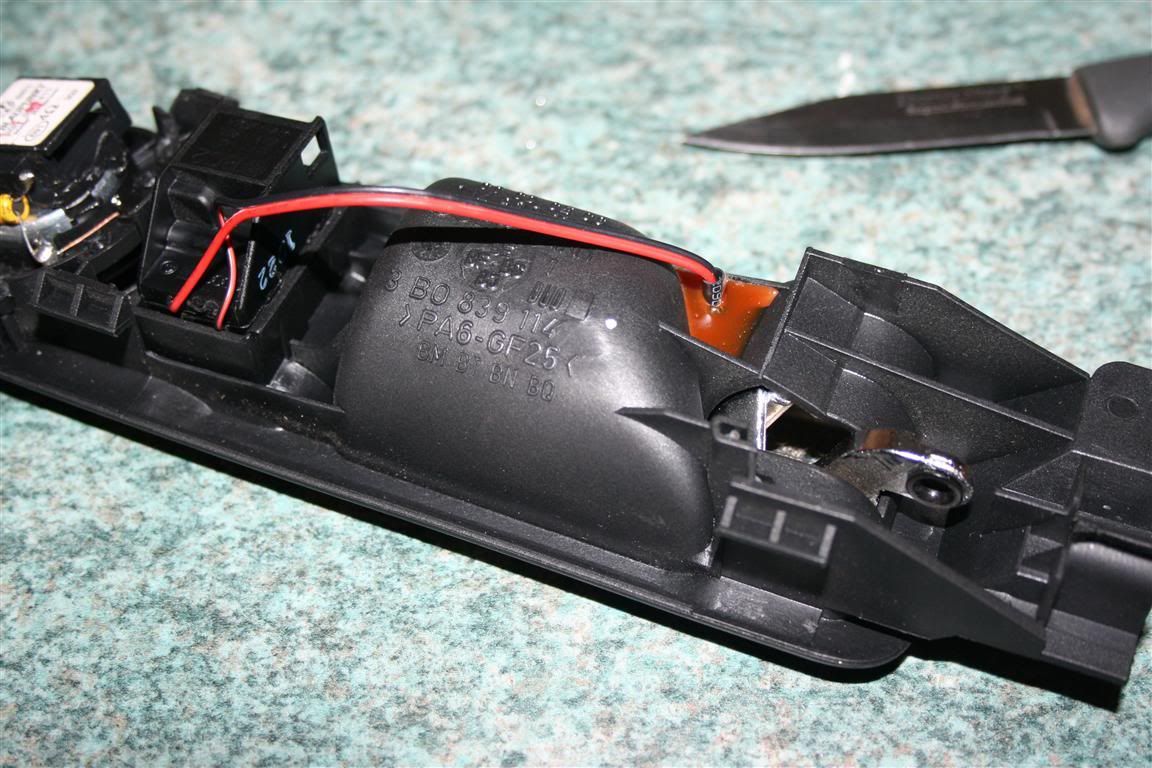
Now prepare the handle make a 5mm hole as shown
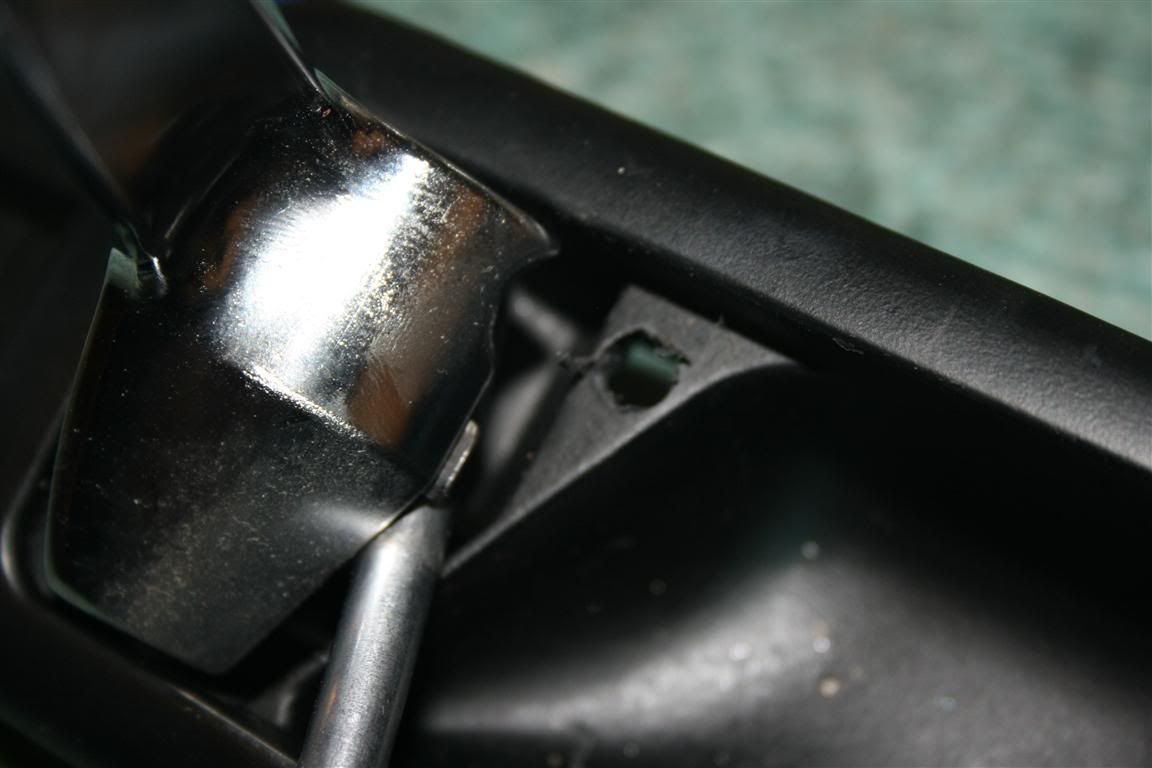
Place the led into the whole and glue

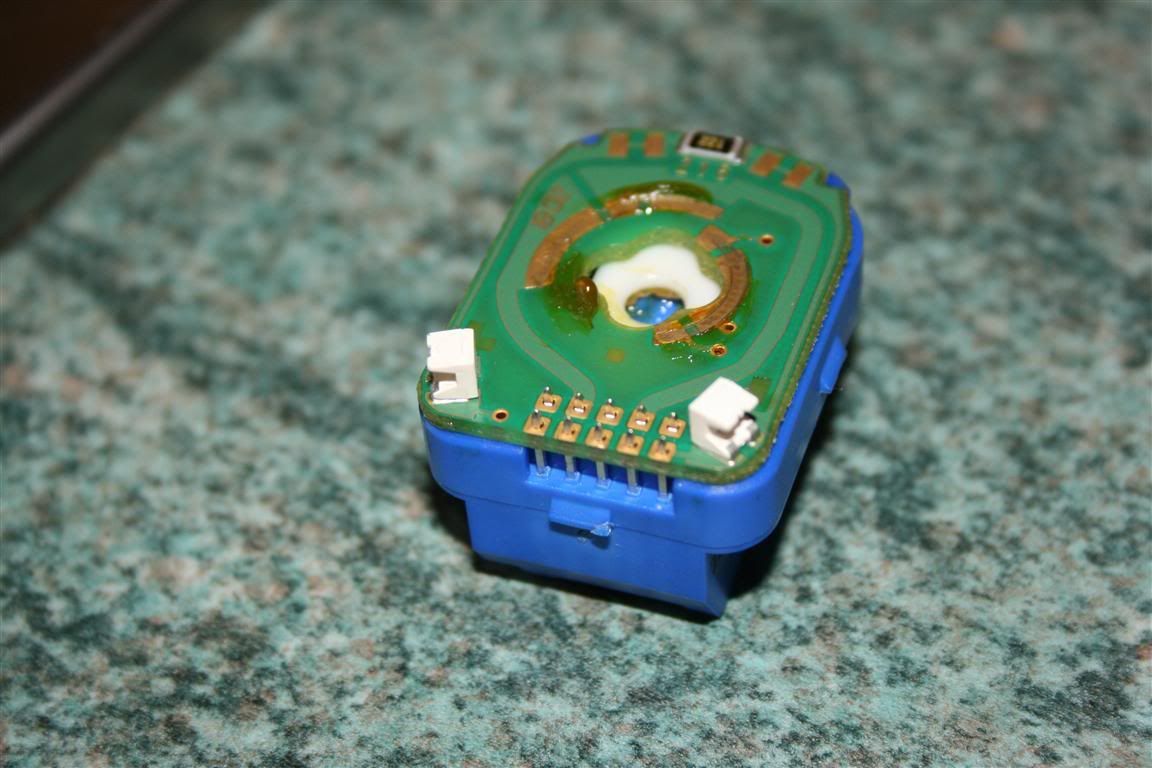
When its dried start soldering the wires to the mirror switch
Positive to bottom right
negative to top middle
as shown
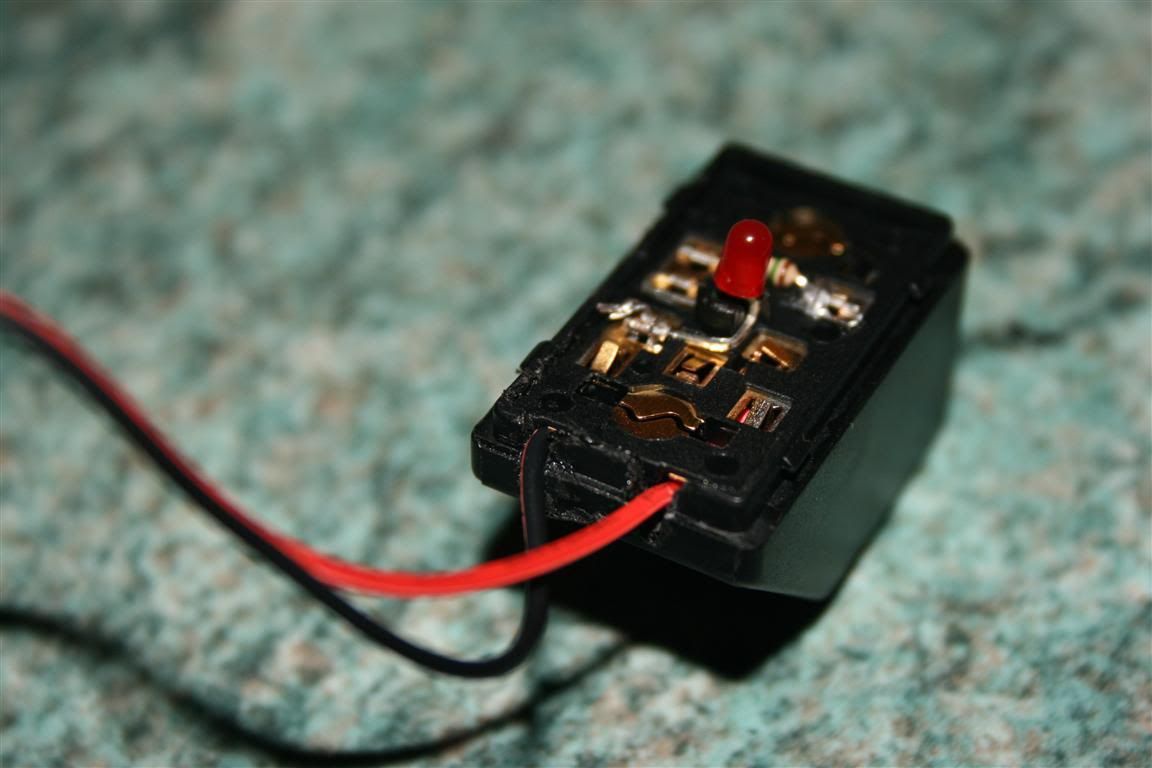
Before putting the top cover back on it slot in through the hole in the handle, t hen replace the top and fit the switch to how it would normally look
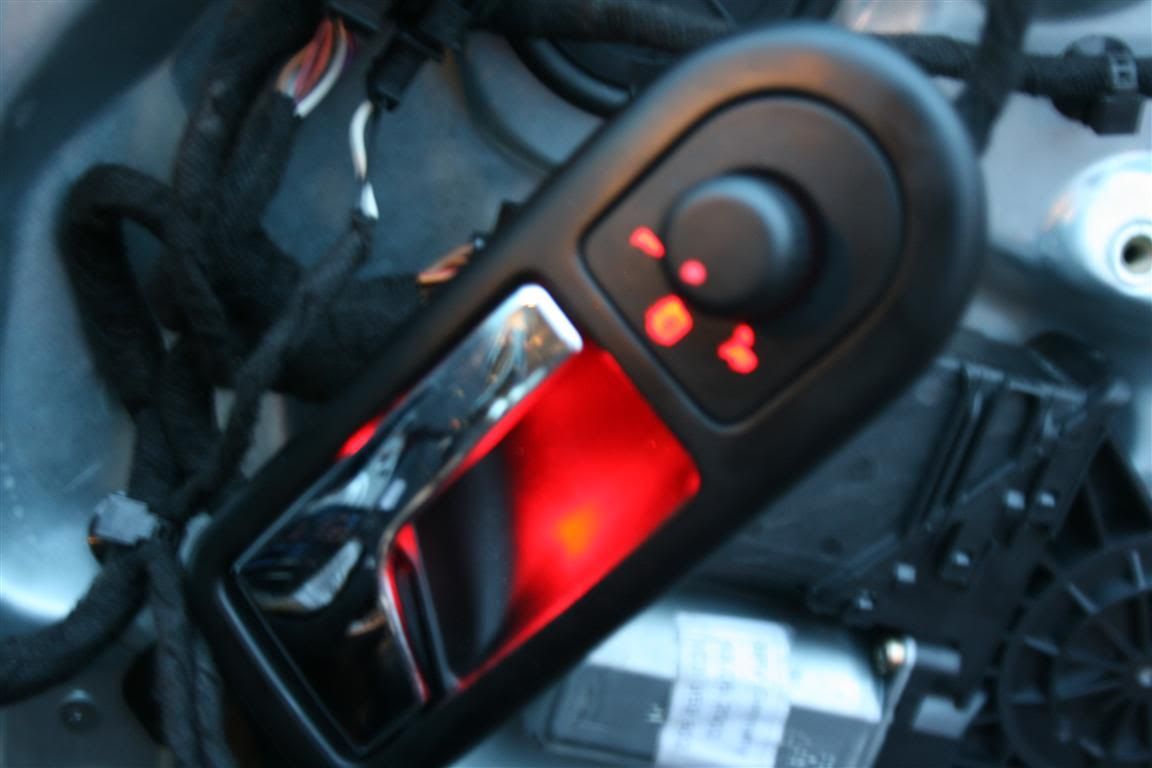
miles better
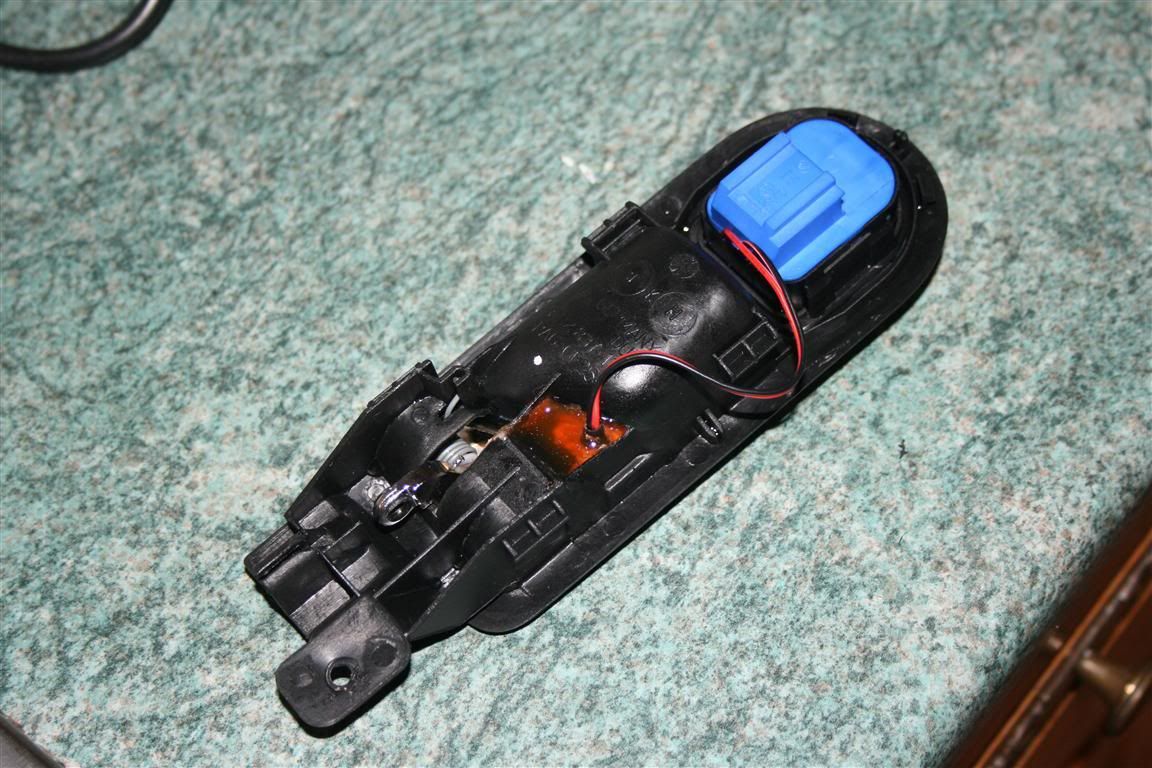
test before putting back into door card if all ok put door card back on you have finished the drivers door
Now onto another door i did drivers rear but should be same process for the rest
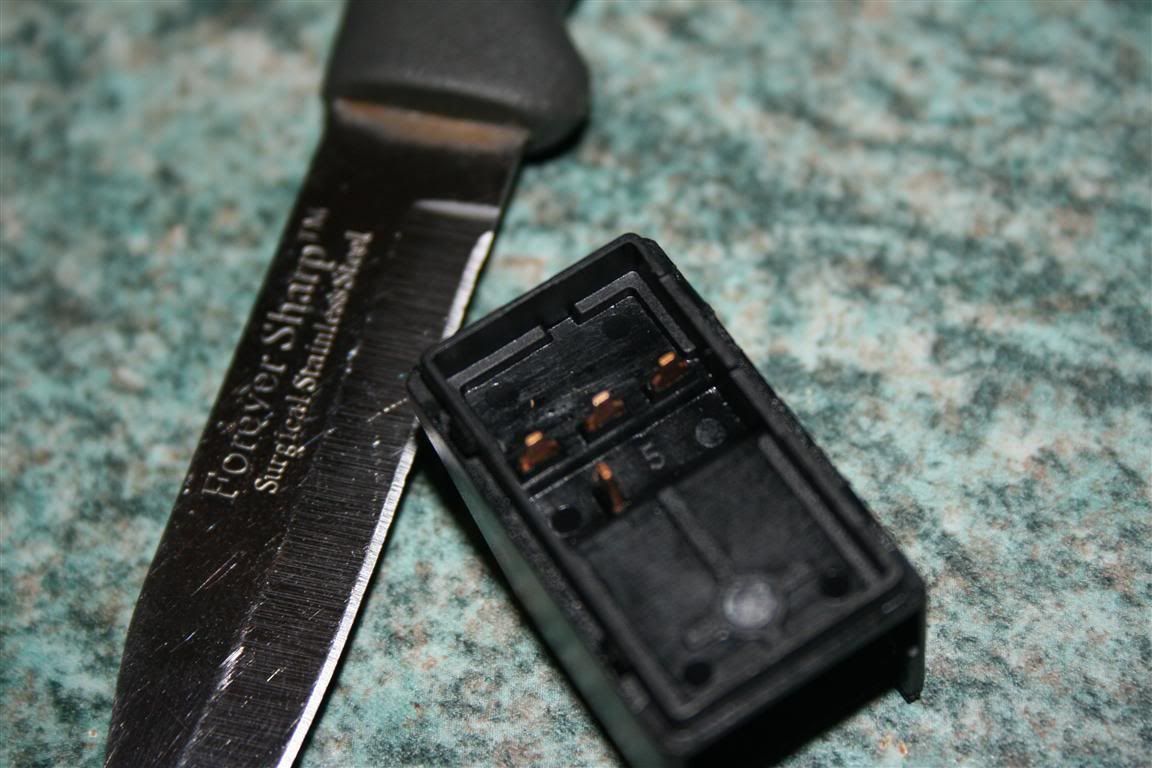
Remove door card and handle etc, then remove the window switch its held in place by the following tabs - again remove the top cover as well tabs shown
When the top is removed also remove the bit that hold the oem led using sharp knife
your switch should now look like this
now do the same as previous door drill your 5mm hole insert led and glue, when thats done we are back to soldering.. take the bit that holds the oem led and insert the wires from your handle led like so note that they are inserted through the rear
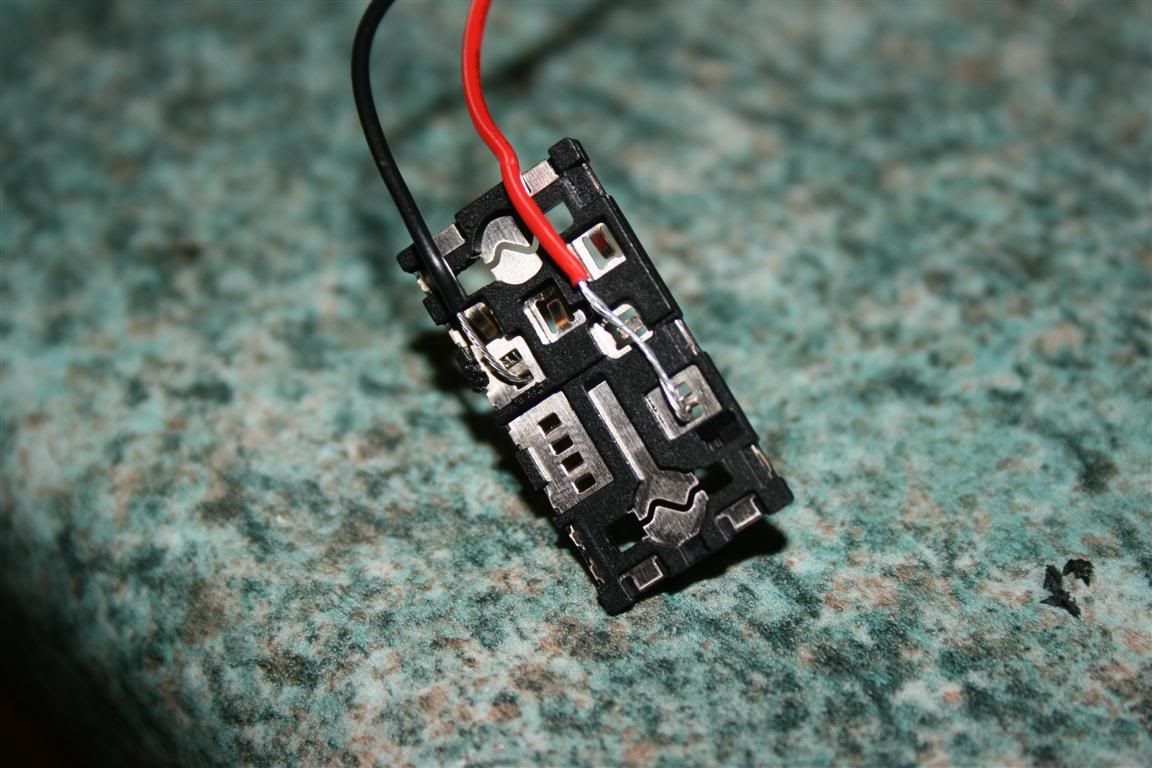
On top solder the wires like so
You now need to remove some of the plastic i used the solder iron to melt it but do what you like just remember you need to allow for the wires width else your window switch will be under pressure and constantly be pressed it should look like
Put the top cover back on and place the swytch back into the handle
better
test replace door card etc etc and you should end up with
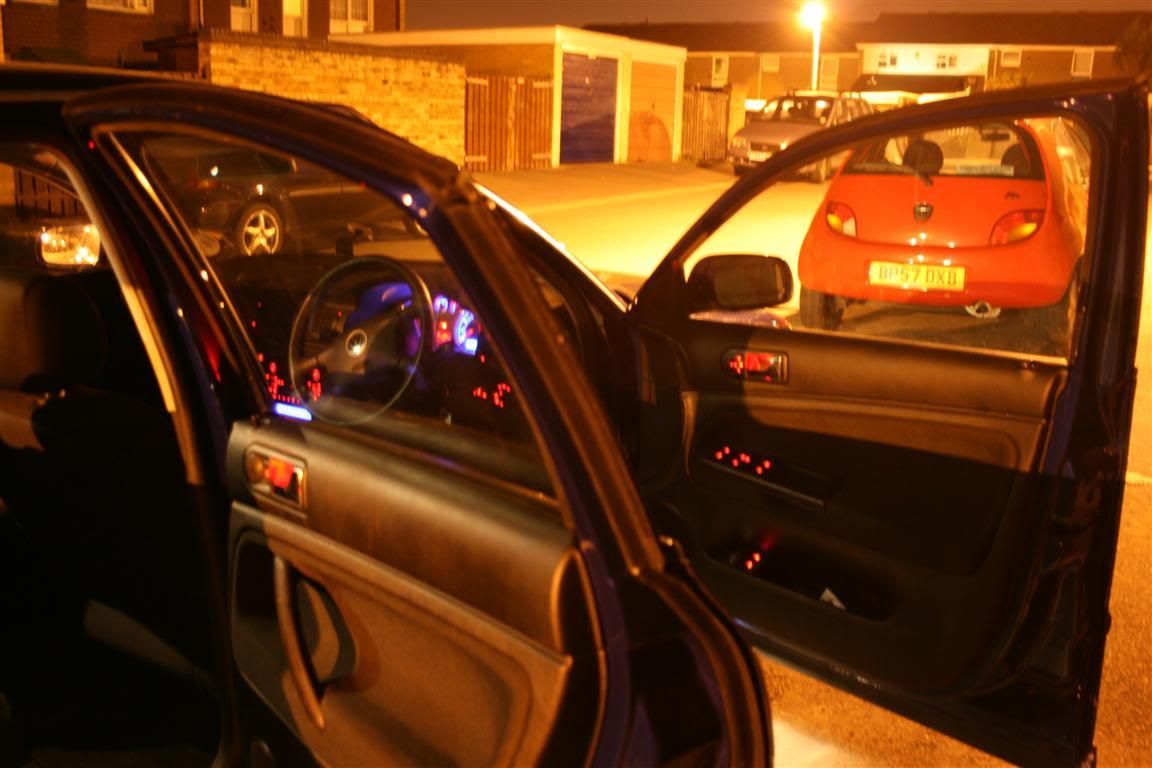
bad photo but i cant find my tripod
hope it helps good luck