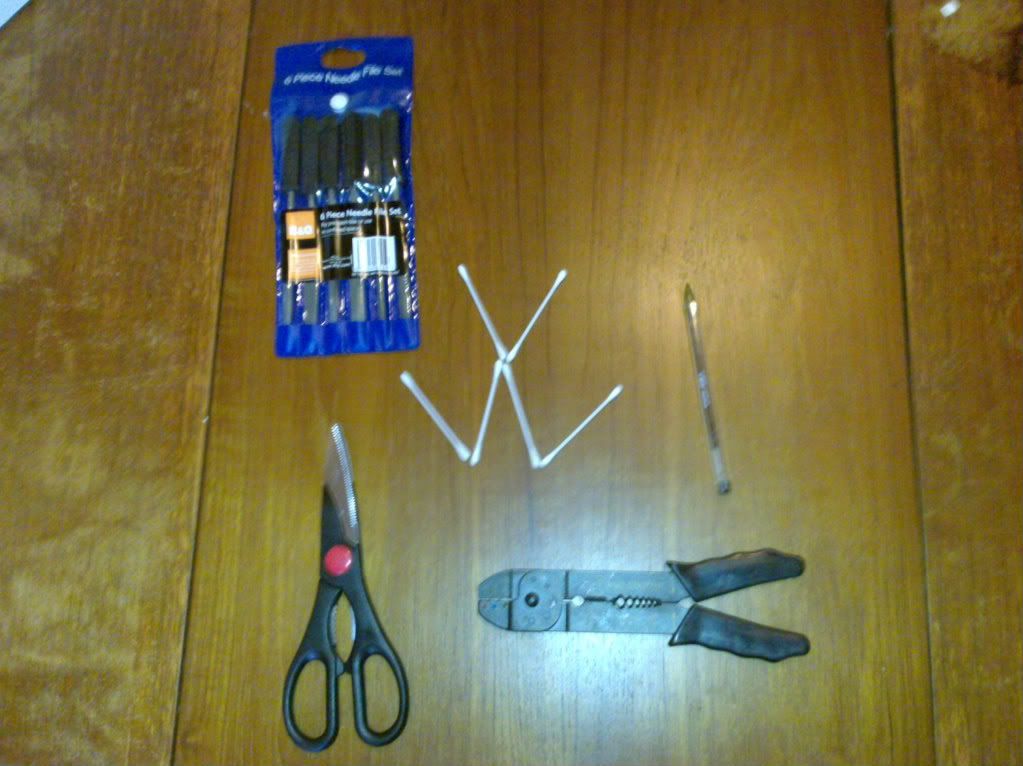
Sorted all my tools and a cup of coffee by my side last night to firstly place the hid kit into the lamps

cotton buds will be apparent in next pic
now will say that the lamps are not initially set up for HID's something i dont think i have seen mentioned before so i took a couple of pics that i took while i was putting them in to help others. As you have to file away some of the mount in the lamp did speak to Ultra first and they were happy with this, A HID lamp needs a gap of 12mm to fit the bulb and the gap in the lamps is just under this size and also a slot needs to be filed in to accomodate the ceramic bar that runs down the outside of the bulb.

As the holder is alloy you need to make sure you file as much as possible to the outside or you will get some of the filings into the lamp front (hence the cotton buds best thing i could find for collecting the stray particles) as you can see i have taken the edges of the slot to the right down and also a v shape in one side for the ceramic bar to slide through as well as the bulb.

in this pic it is installed with the original spring clip this does become very tight as the HID bulb has a thicker base to it but with a little tweeking and pursuasion it will lock into place

next is to connect up the wiring remembering that the earth needs to be connected to the bulb wiring not the mount earth point as the base is plastic on new bulb.
now the physical removal and mounting of the new lamps i didnt get any pics of as it was starting to spot with rain and wanted to get on and get them done , i did not remove the bumper to fit them but tbh it probably would have been easier to get them to slot in, in hindsight if i need to remove or change them in future i probably will do as it is very tight to do so and would make life easier i think.
Once they are in its just a metter of conecting up and mounting the ballast again pics that have been posted before so the last one i have today is a pic of them fitted and finished. as it was light i have not taken a pic of them lit but i am off out tonight to get them leveled up as the nearside is a little low compared to pattern from original lamps so i will get some more taken when it is a bit darker

Hope this may be of some help to others and if i can help anyone out i am more than happy to answer any questions ppl may have
