
However after installation it was leaking from above the subframe by the flywheel end!.
Today I went back to his garage and we tackled it again, and as I knew what to expect this time I took lots of pictures to document it. I have tried to keep things simple as this is how I like to work. This is done on a 1999 Tdi AFN, but process should be fairly similar for most. This is meant as a guide to aid.
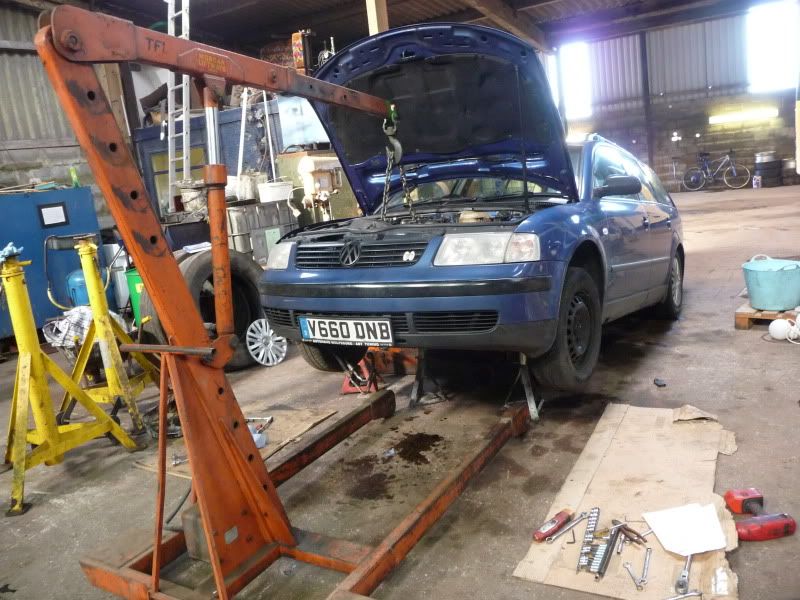
We used an engine hoist but a engine support bar would be just as good, if not better as it leaves the floor area under the engine bay clear.
First thing is to get the front end jacked up nice and high, and use a good set of axle stands to support. I put them under the rear front subframe mounting plates, I also had a jack under as a back-up.
No specialist tools are required, just stuff like a good socket set, allen key sockets and spanners etc.
Please note, my car doesn't have a working air-con pump so the ribbed belt tensioner was already removed and I took out the air-con pump too.
Drain the oil into suitable container.
First undo the 3 bolts on front torque mount. 2 on left and 1 on right.
Then remove the black mounting plate from behind, mixture of allen bolts (2 on left) and nuts (2 on right).
Remove the 2 stabiliser bars from each side of the sump.
Snip the ties holding starter motor cable onto the front right subframe mount.
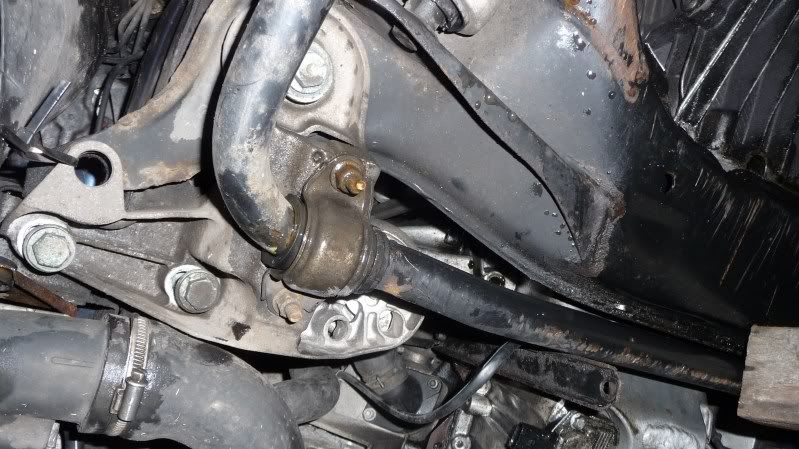
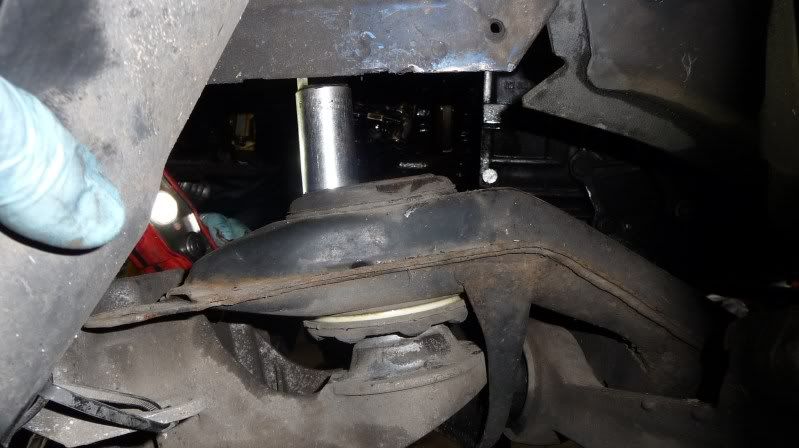
Unbolt the 2 13mm nuts on the bottom of the engine mounts, one on each side of engine.(sorry no pic of these but they are easy to spot) In the 2 pics below, the left side engine mount is visible in the top right of each pic.

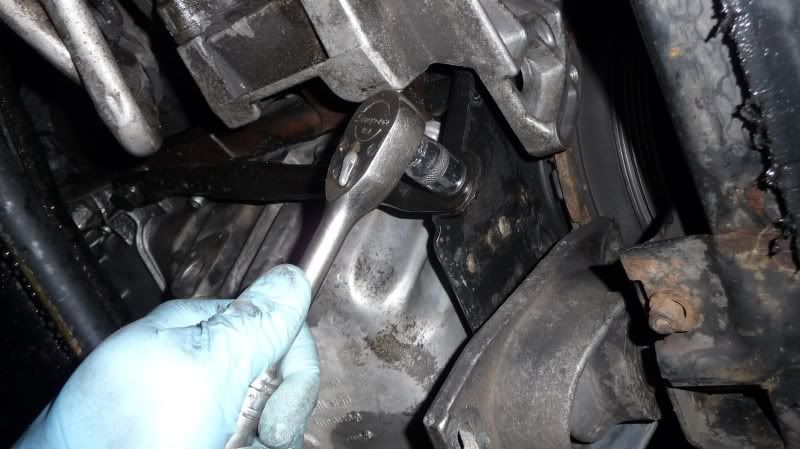
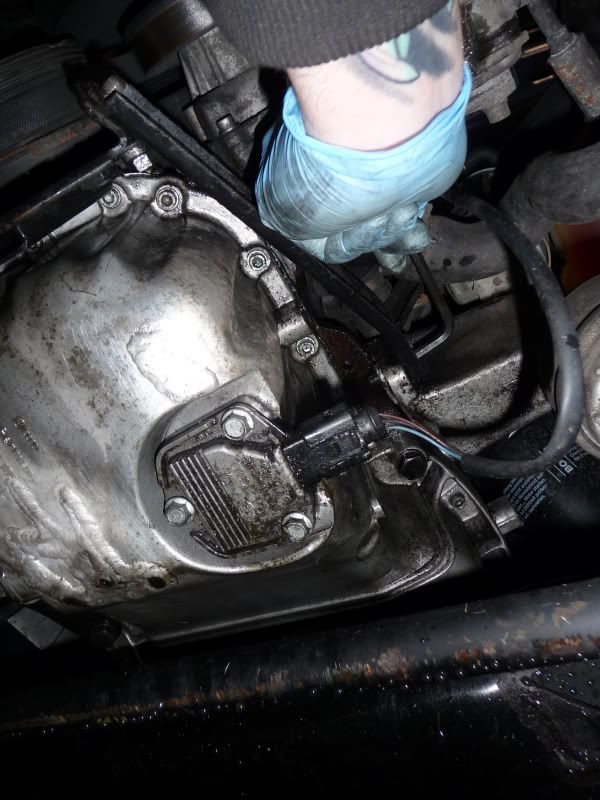
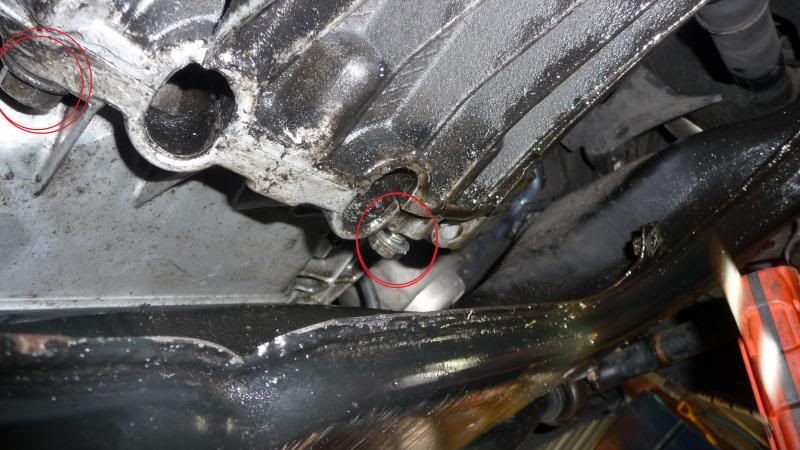
Start to work your way around the allen bolts holding sump to engine block, you can unplug oil temp sensor and remove the 3 bolts. Put this somewhere safe.
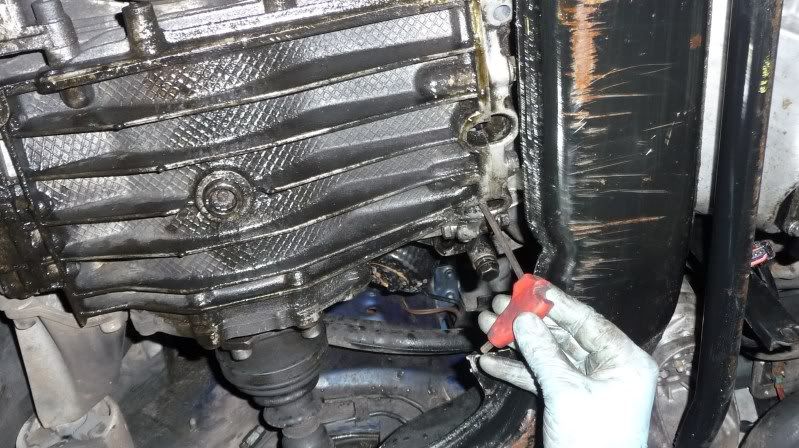
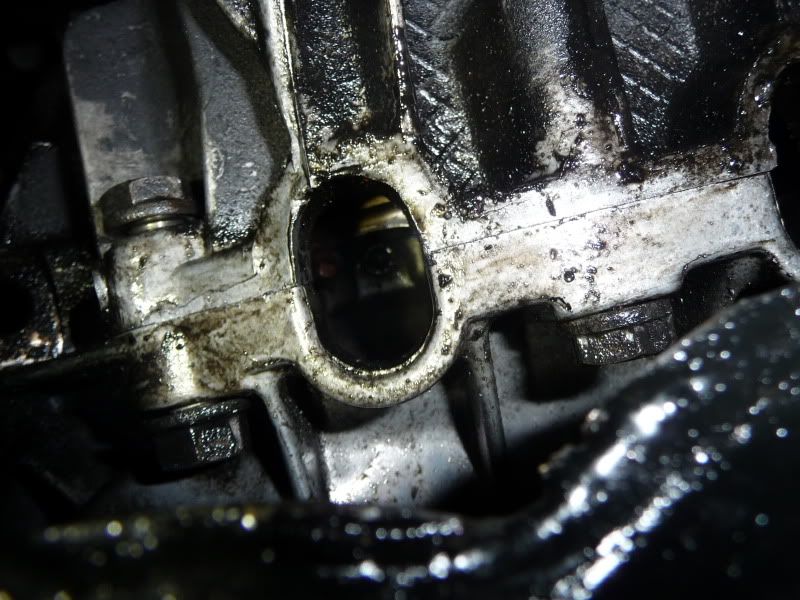
There's 2 allen bolts which can only be reached through an opening in the flywheel, you will need to turn flywheel as needed. Pain the ass to line up, just takes time. We had one of us looking through the opening ready to see the bolt, and the other would turn the road wheel (after ensuring the other wheel was locked in position so it wouldn't turn)
Attach your hoist (if not using a support bar) and raise the engine as far as you can. Take care not to damage any pipes etc in the process. Should get a good couple of inches in lift.
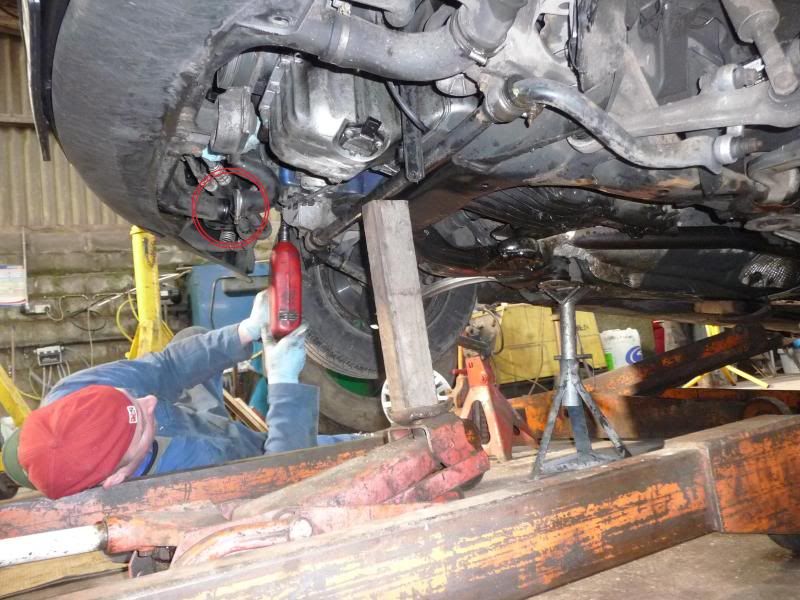
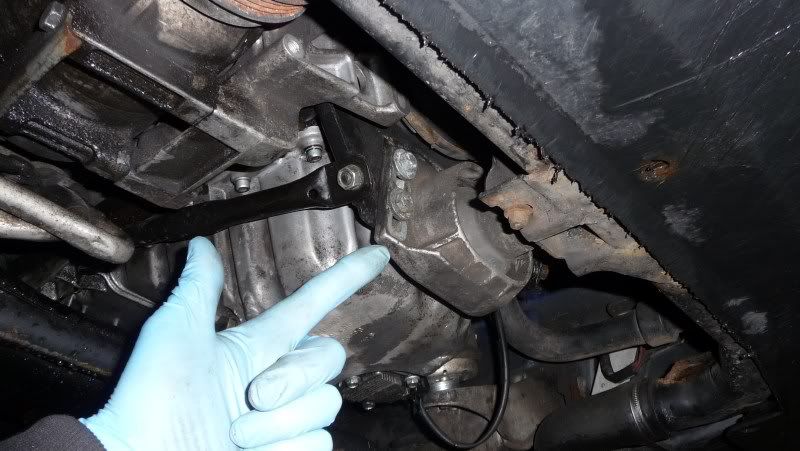
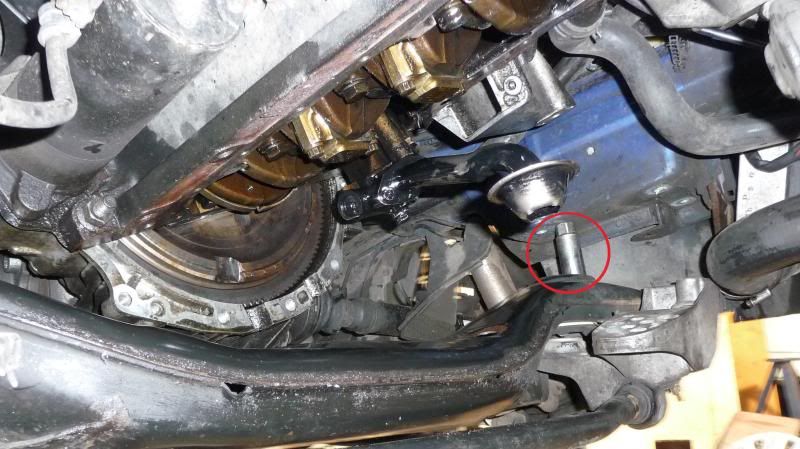
Support the subframe as you don't want it dropping down when you unbolt it. Only drops an inch or so but best not to let it drop on it's own weight. I've circled the turbo hose that you can undo before you raise the engine if you want.
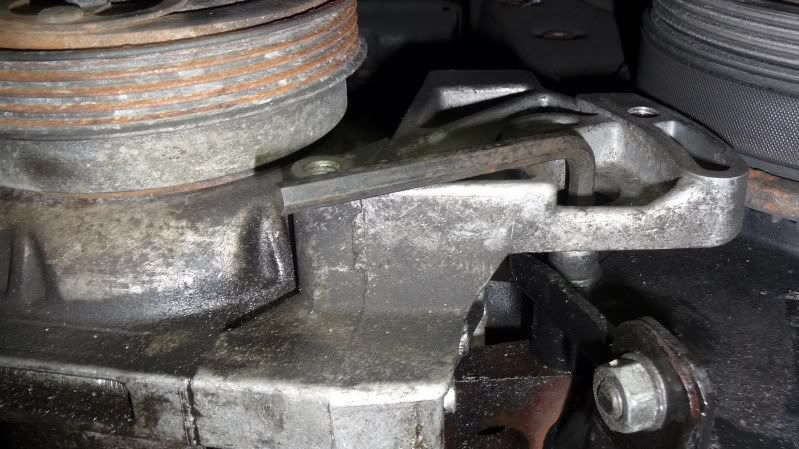
Undo the 3 subframe bolts on each side of the engine. Undo the 2 bolts which are closest to each other first then the other one.
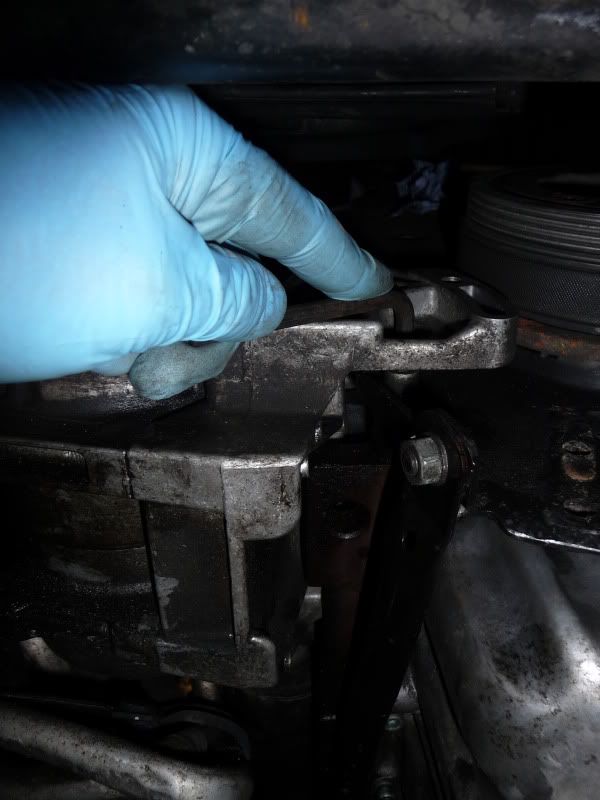
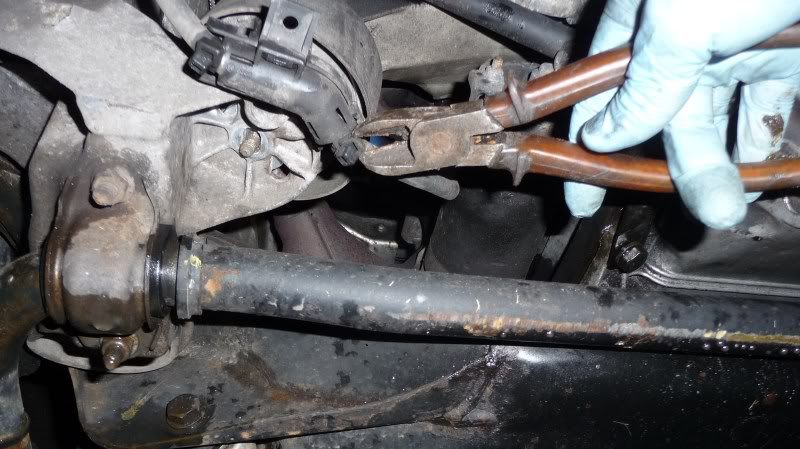
Release the jack and let the subframe drop down, you can now use a good crowbar/lever inbetween the body and the frame to create a gap. In this gap put a long socket, this helps give you more clearance and keeps subframe in position.

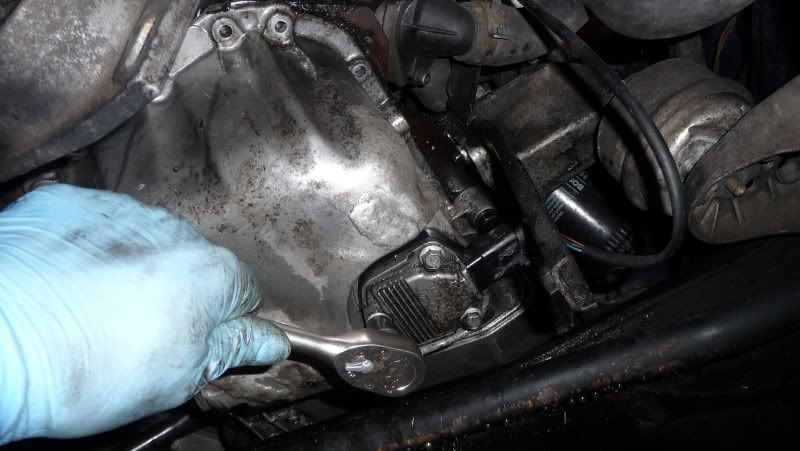
With the subframe in this position now, it's easier to get to the remaining bolts holding the sump to the flywheel housing. IIRC there's 5 bolts, 3 horizontal and 2 vertical. There''s also a couple of the allen bolts which get hidden behind the subframe, these are easier to reach now.
Once all the bolts are out, remove the pan (might need a help with a rubber mallet). Job done. Well half anyway.
I used this guide: https://dl.dropbox.com/u/3424659/1.8T%2 ... onents.pdf to help with this, but found I didn't need to do everything it suggested to get the job done. Re-assembly is simply a reverse of the above. Ensure you have triple checked all the sump bolts!
Always have a Haynes manual at hand to guide you, but hopefully I have pictured most things as I find having photo's helps the process. I hope this helps de-mystify the process, as it always seemed much harder that it actually was. This was undertaken with help and advice off here which I am always grateful for.
Took the best part of 6 hours (lots of fiddling aboot)