
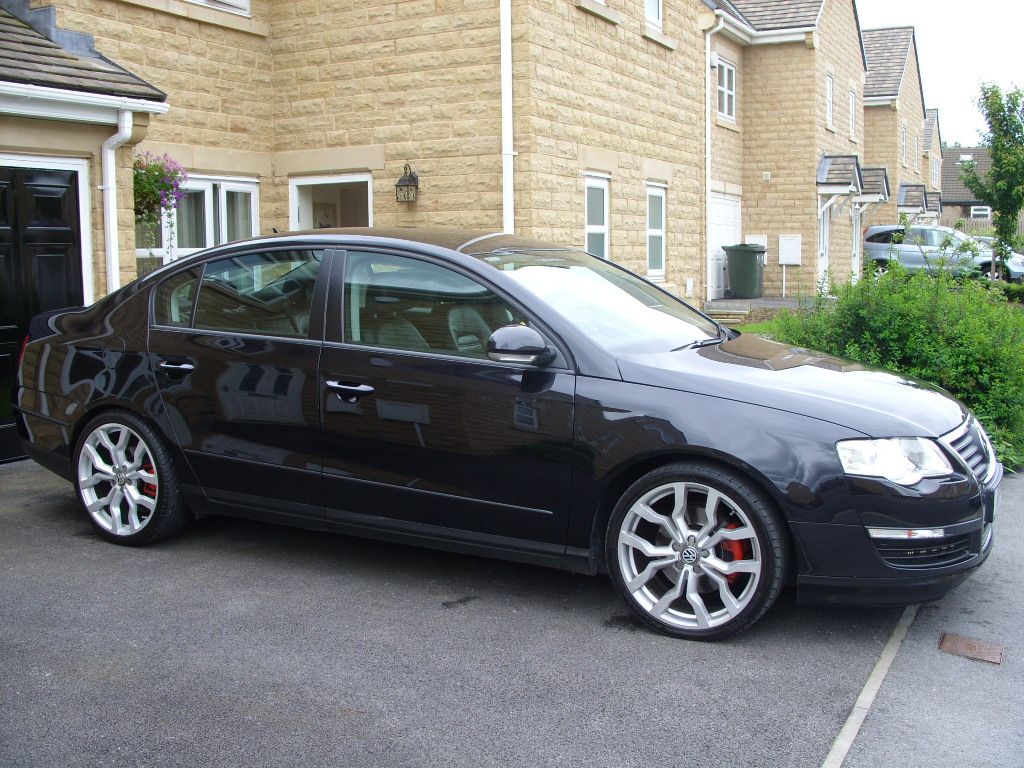


...oh, and ive painted the garage door black too.
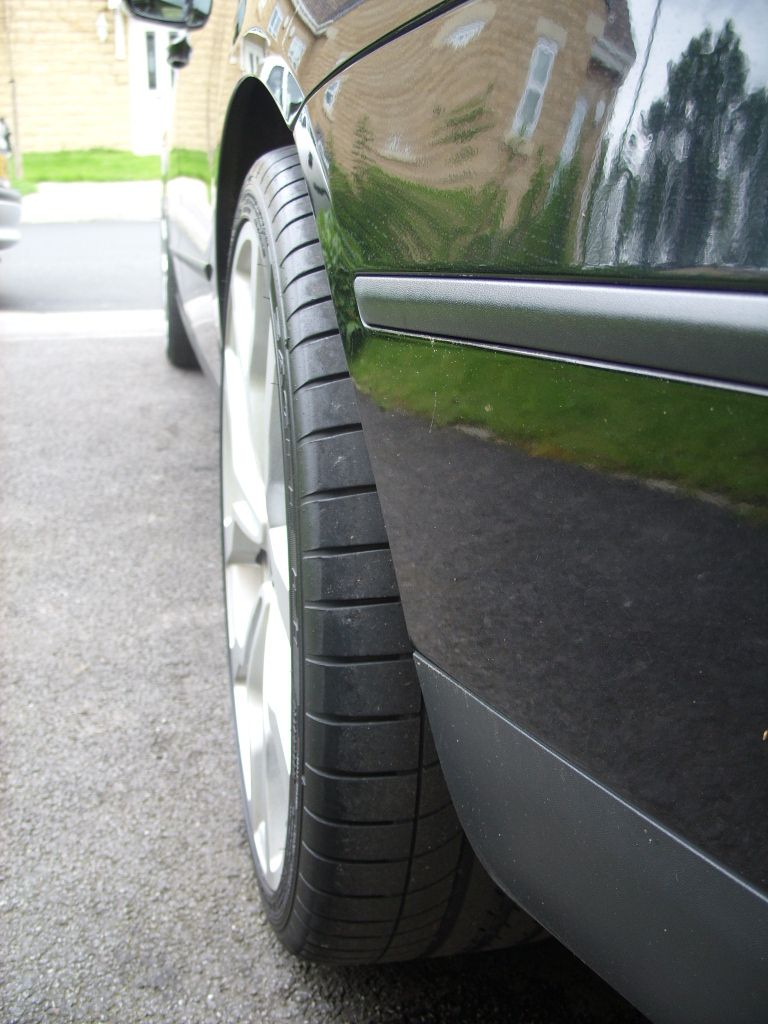
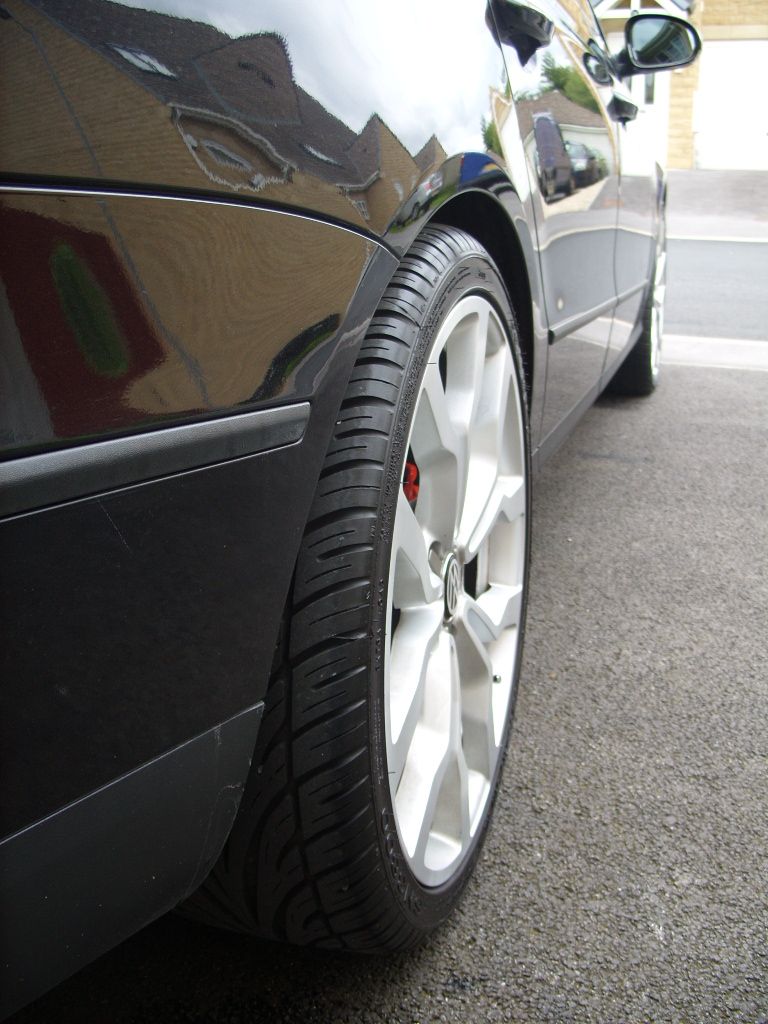
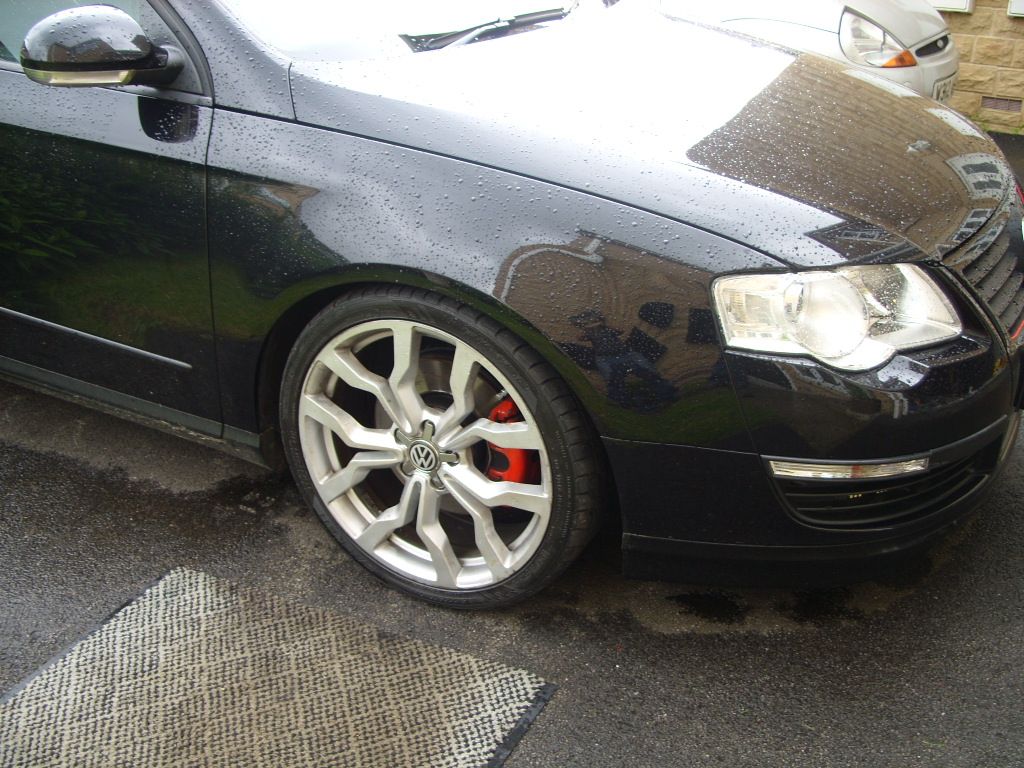
Oh yeah and these bad boys too...
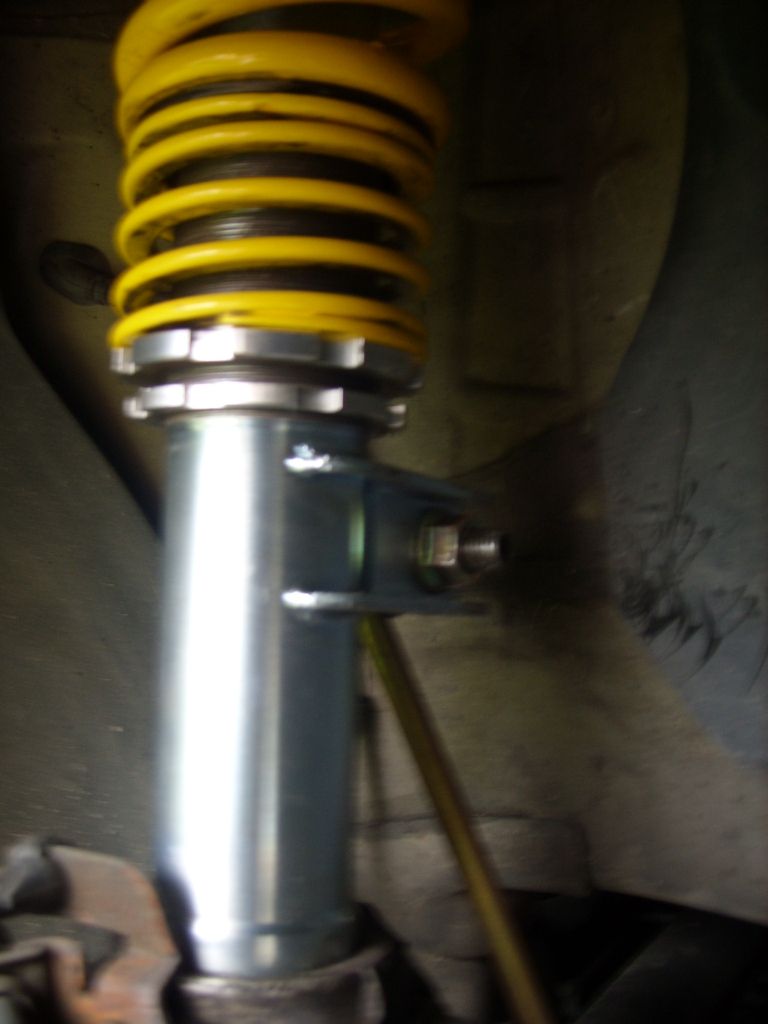
Thought id show you how i did the front ones, This is just the way i did it and not in anyway gospel, there may be better ways. trolley jacks, axle stands and wheel chocks were used for safety.. honest..
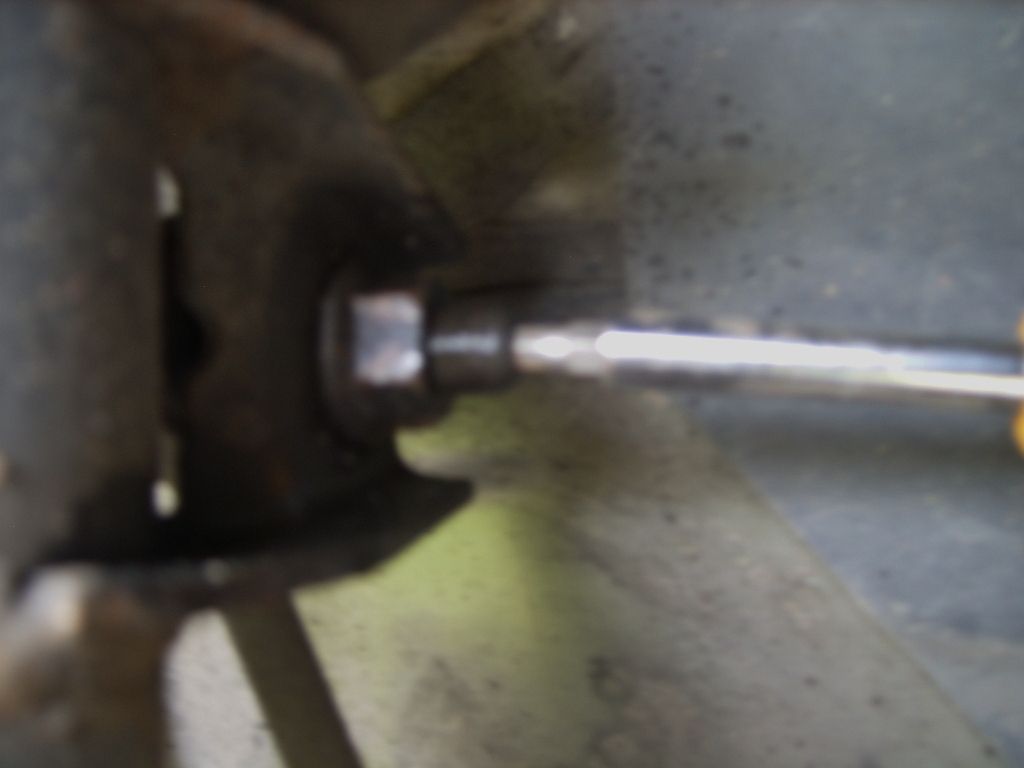
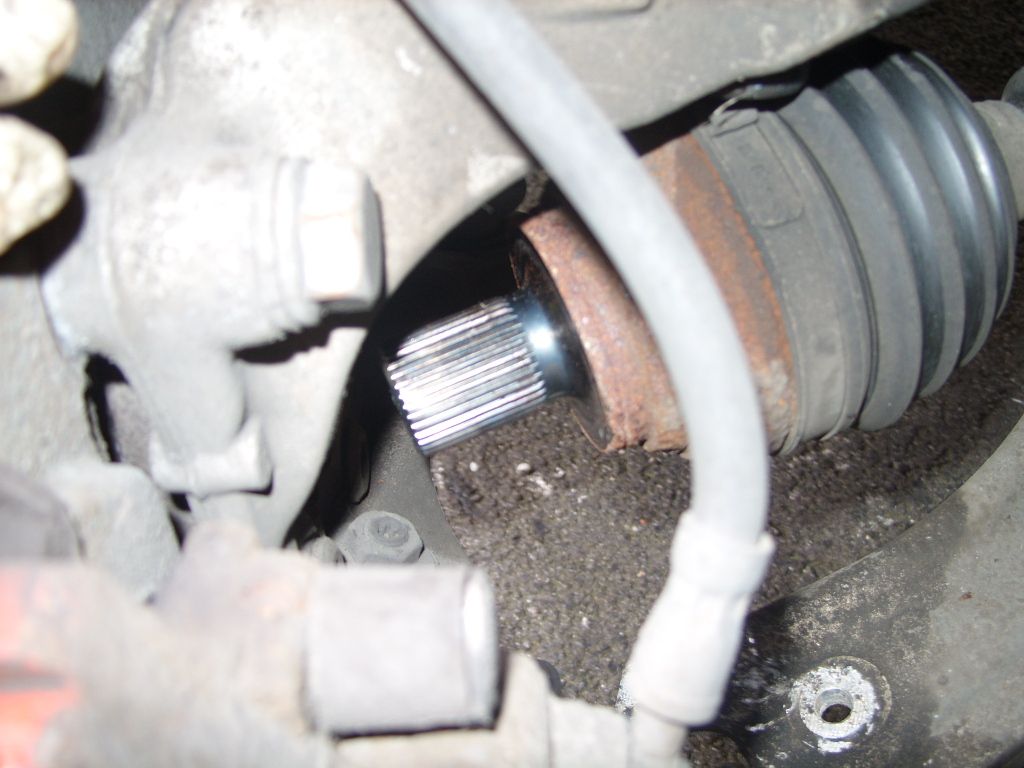
Right, first up i dont need to state the obvious...wheel off, although i did crack the big drive shaft bolt first.It was 27mm iirc.
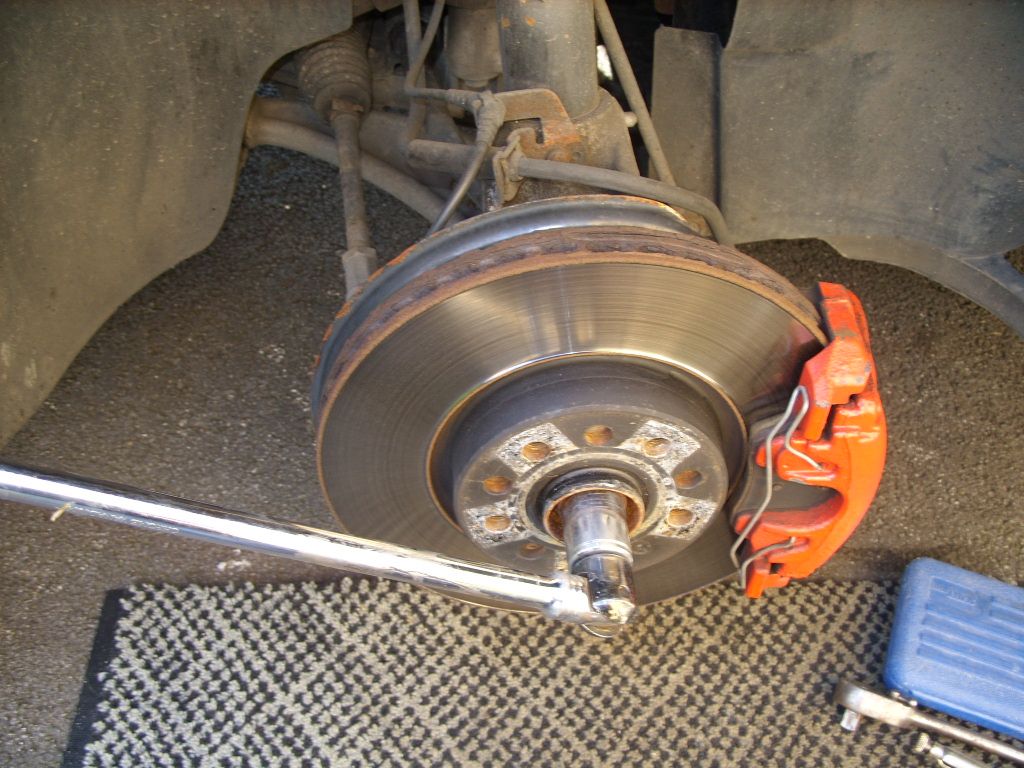
Take out the small bolt that holds the brake flexi and abs wire...10mm
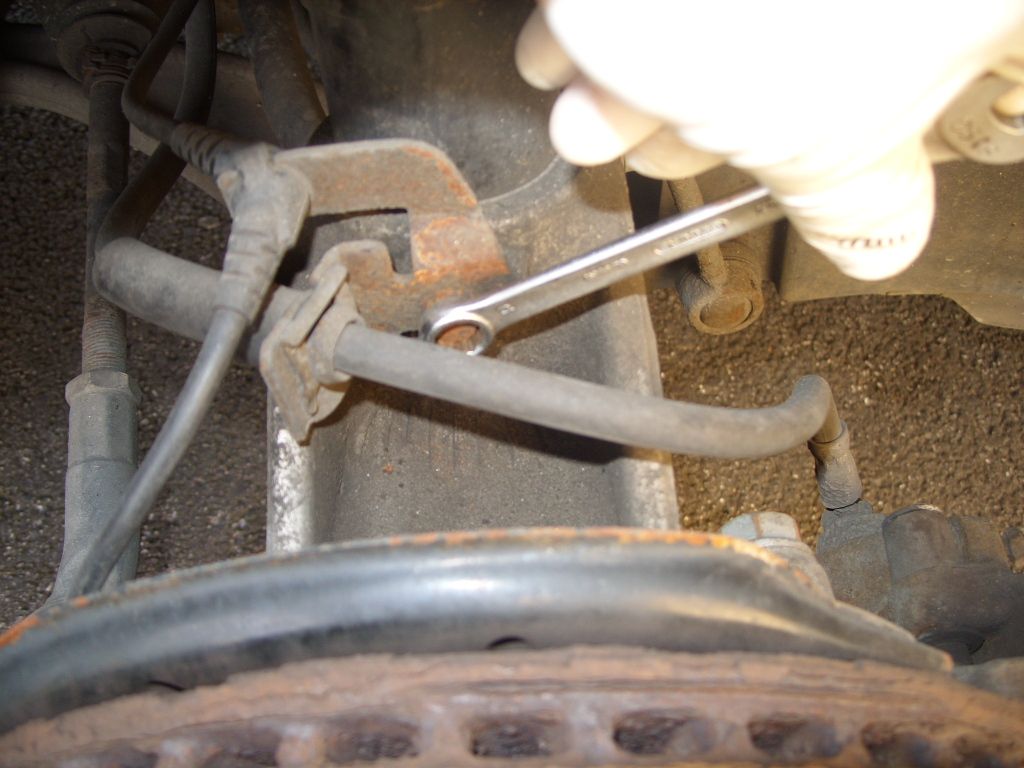
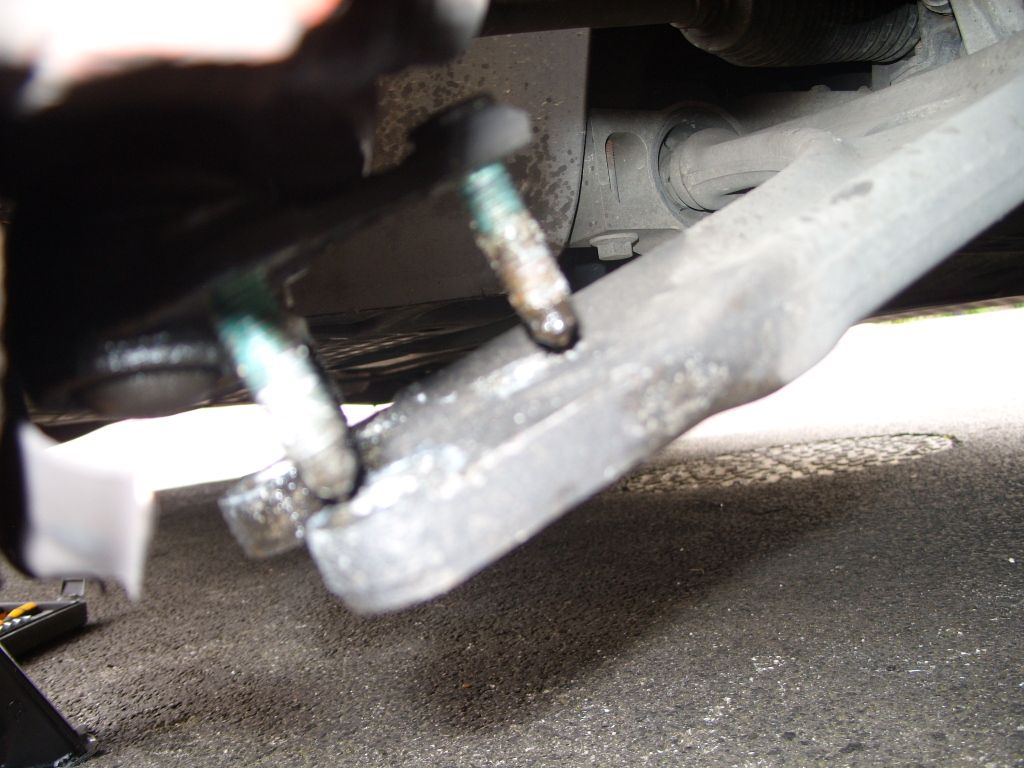
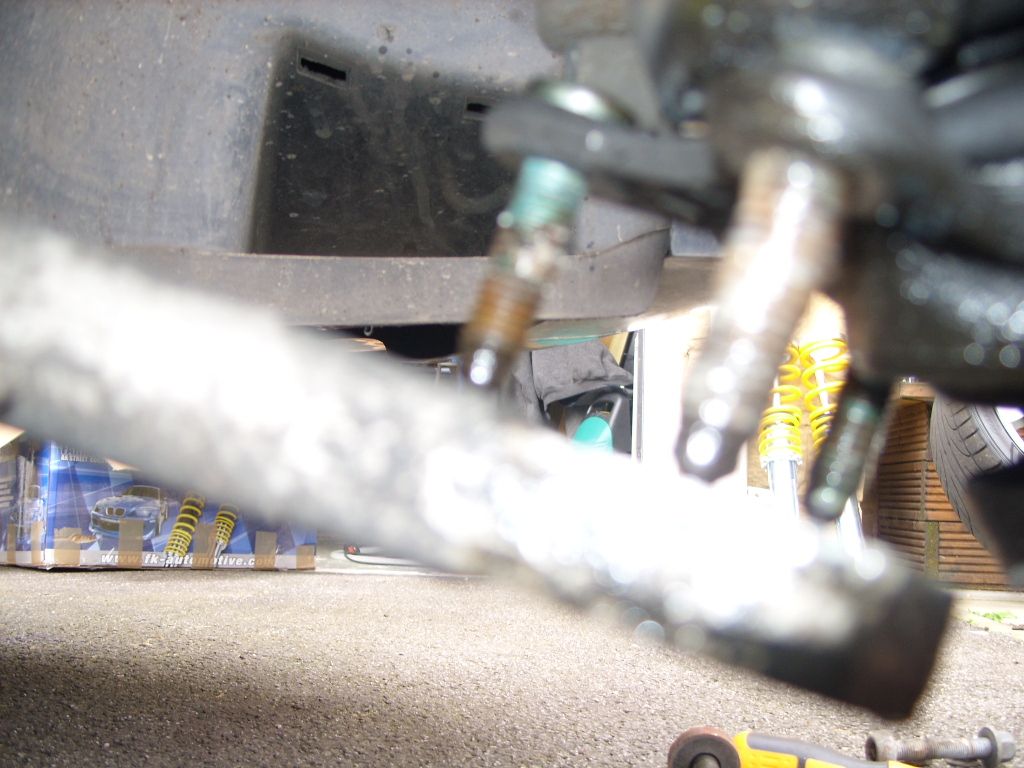
...then i removed the 3 nuts that hold the bottom arm on...16mm

..next i removed the strut pinch bolt cant remember the size, may have been 19mm, the other end requires a torx socket but my set does'nt go that big so i used a pair of long nose mole grips to hold it, it offered hardly no resistance and came out fine, as it did when i assembled it too.
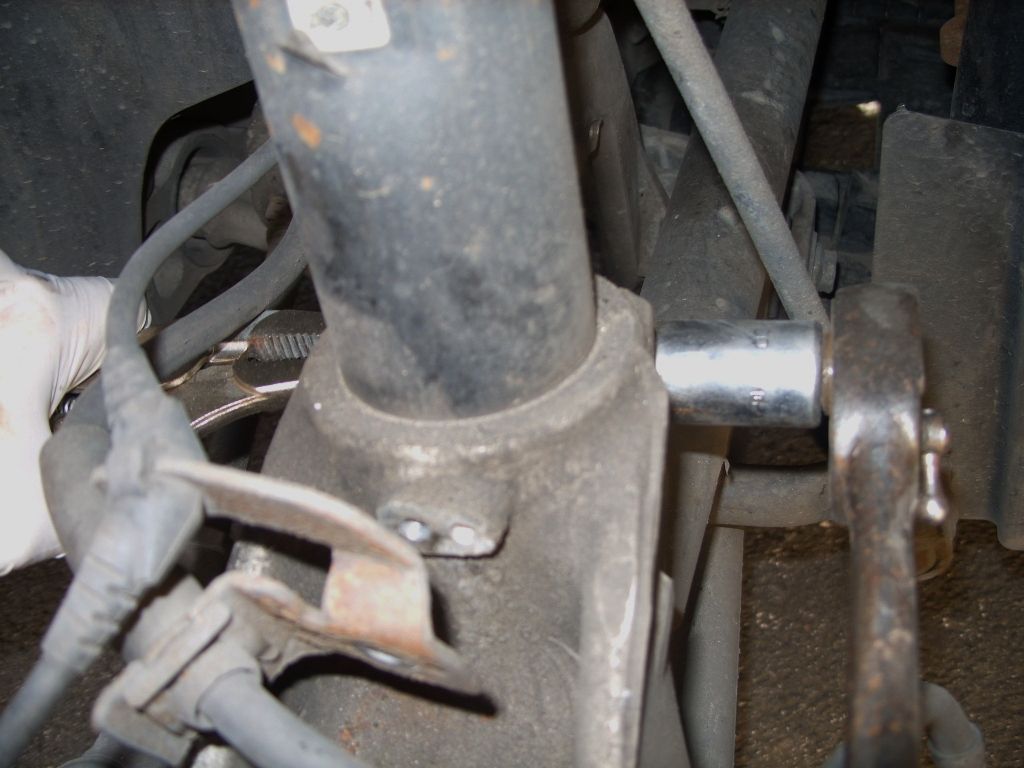
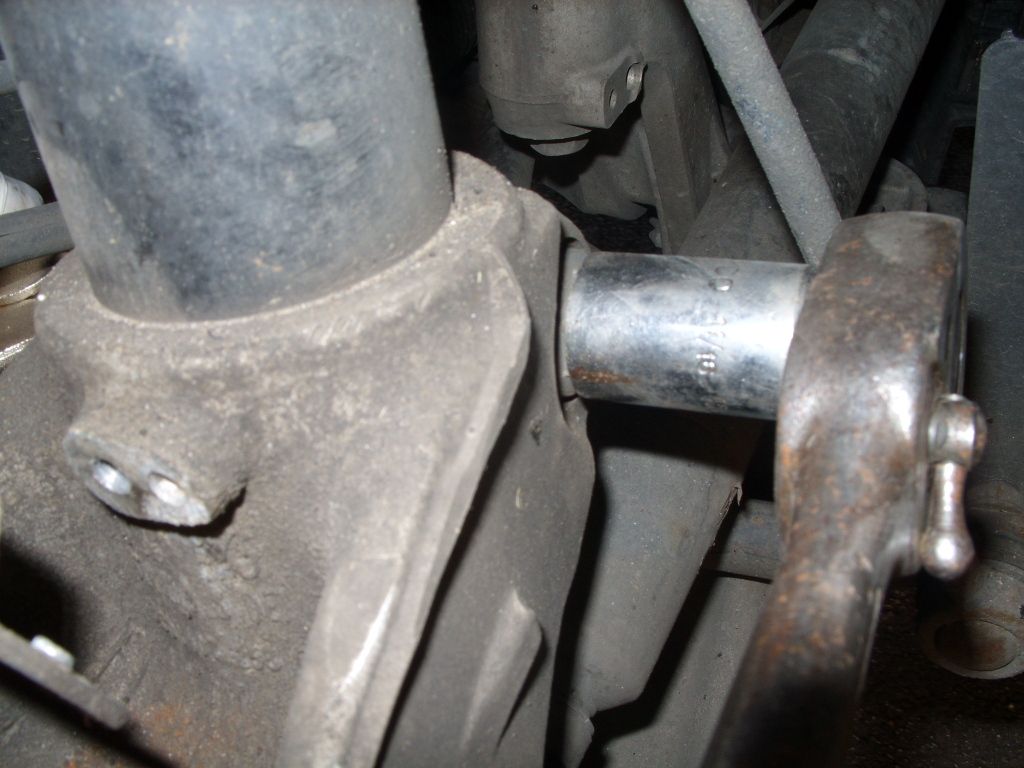
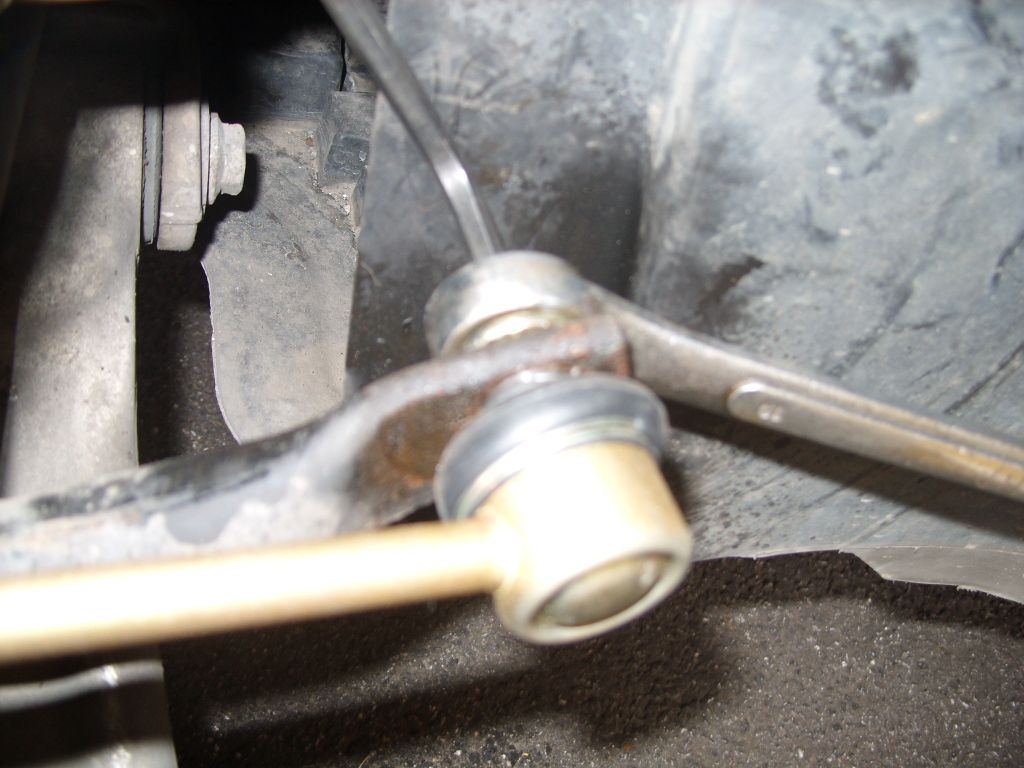
Next out came the drop link (top) once again 19mm i think, you can put a torx bit down the centre to stop them spinning.
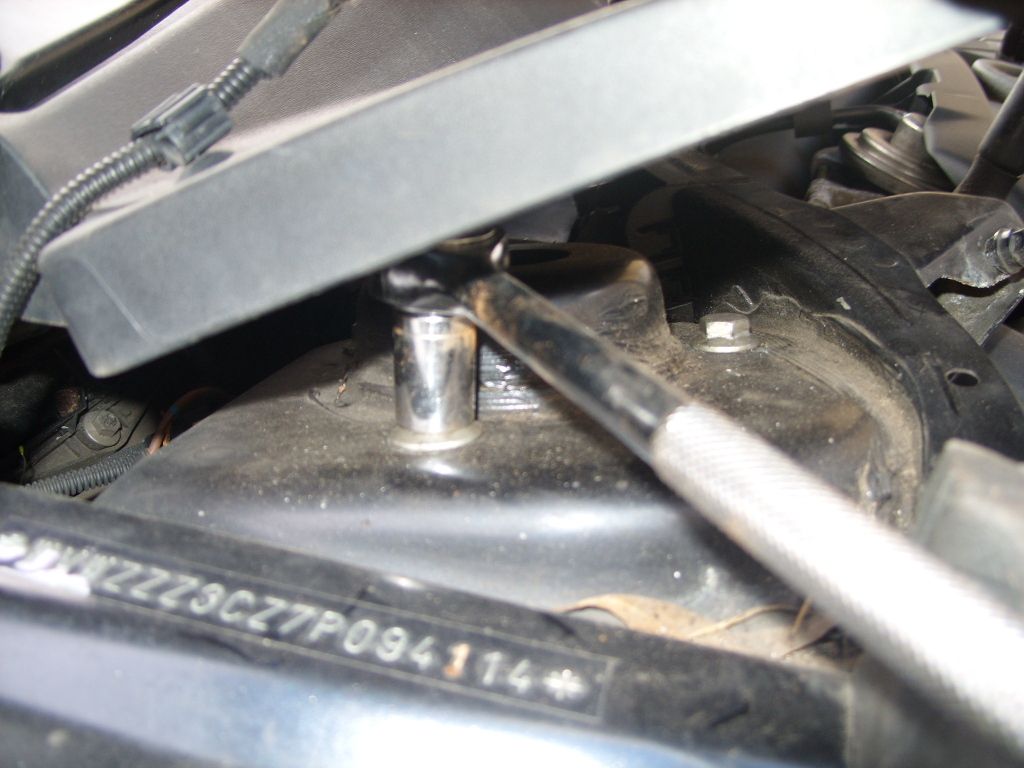
...then i removed the 3 bolts that hold the top of the strut to the inner wing, can be accessed from under the plastic cover in the engine bay... 13mm.
put a small trolley jack under the hub to support it.

Took out the drive shaft bolt.

Next i dropped the bottom plate, this can be fiddly, once free i wedged a bit of wood between the plate and the anti roll bar just to keep it out of the way.
Next its a bit of a jiggling job to get the drive shaft out while taking the whole weight yourself. Best way i found was to pull it forward a bit and tap the shaft out, dont pull to much you dont want any mishaps at thr diff end.
Next bit is to get the strut out and they are tight so i made a tapered wedge to tap in the slot to prise it slighty apart, patience is needed here..
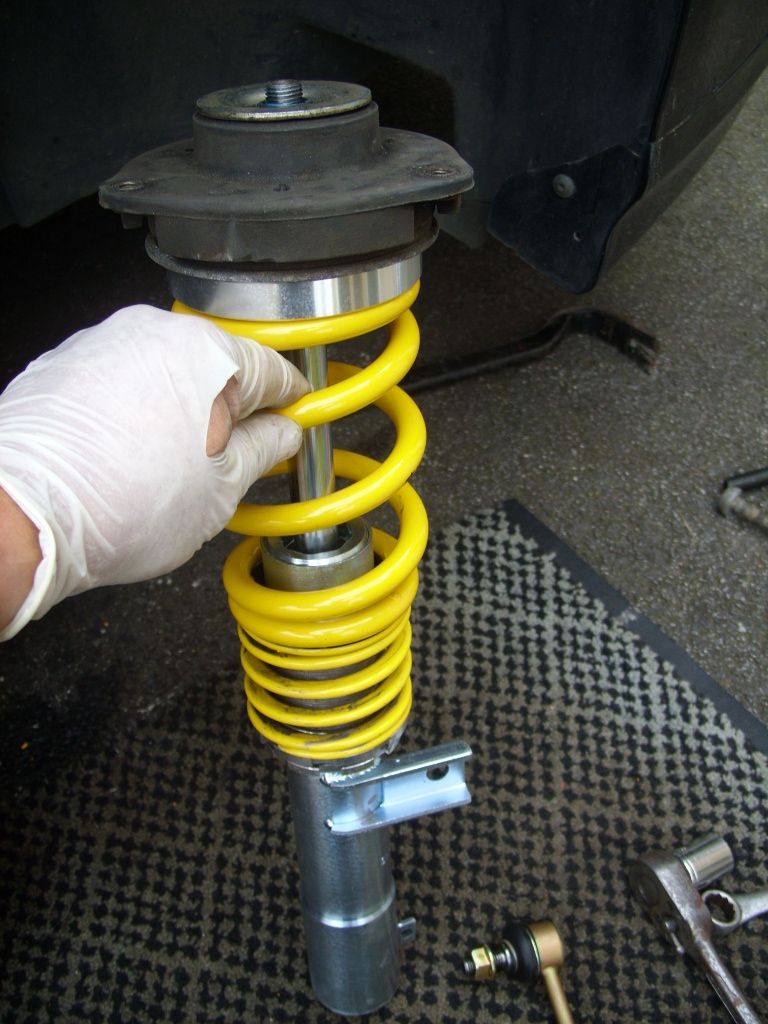
Once you have it out you can take off the top mount and fit to the new strut, some people like to change these but mine felt fine, wind the spring right down for ease of fittment.
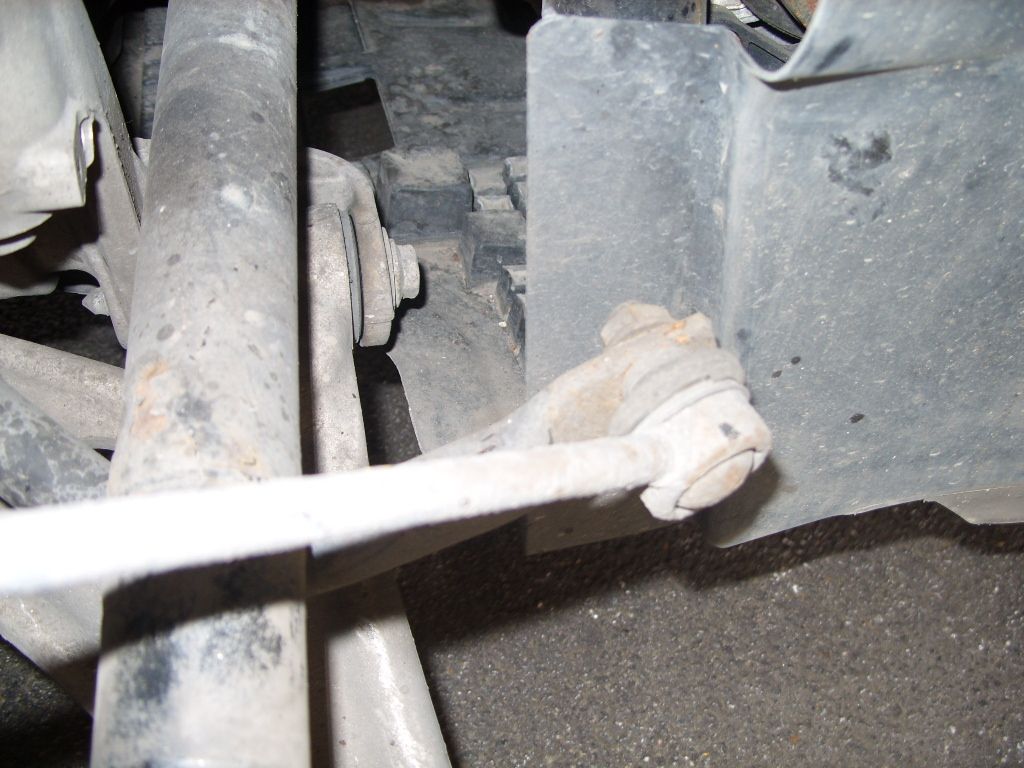
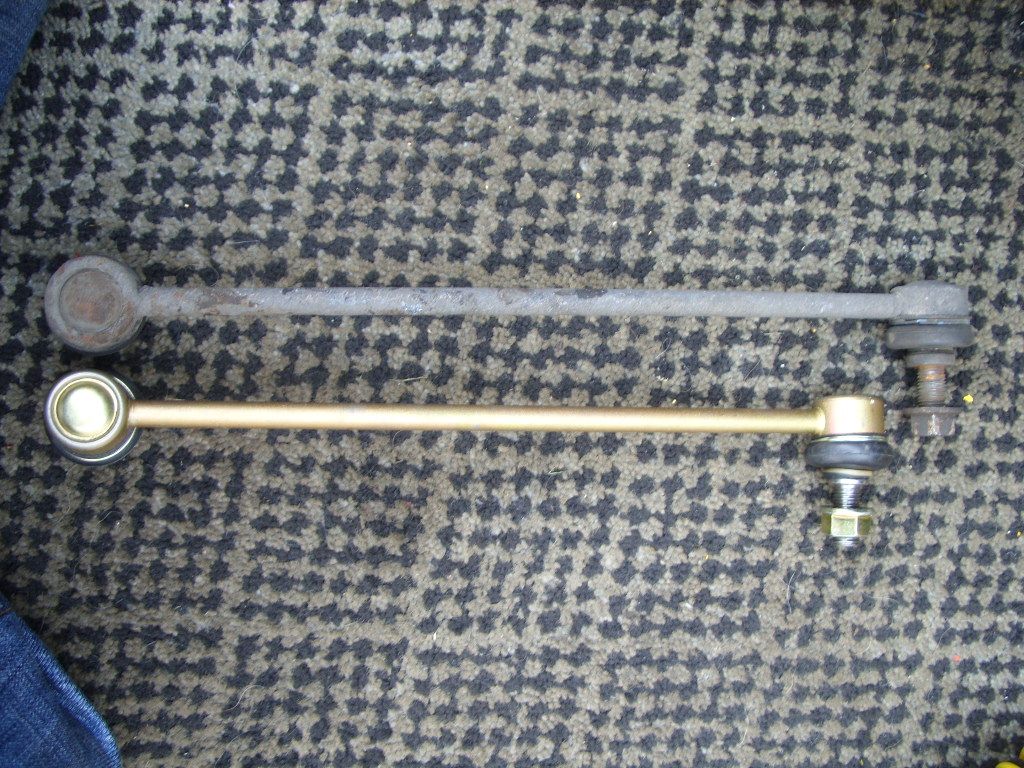
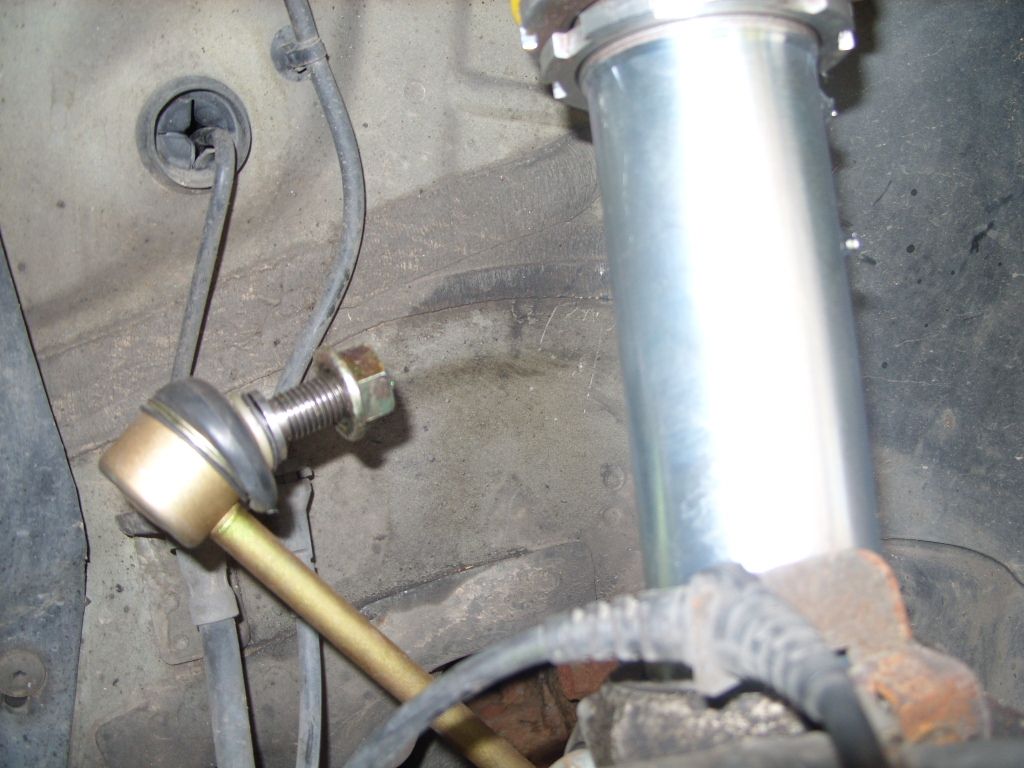
Take off bottom drop link nut, you can see the difference in length.
Rebuild is pretty much the reverse, dont forget your torque wrench if your unsure, personally i dont use one, i kinda know when its right, lots of patience needed and a few awkward nuts and bolts along the way.I also soaked the adjustment threads with anti-seize spray and copper slipped all other threads.
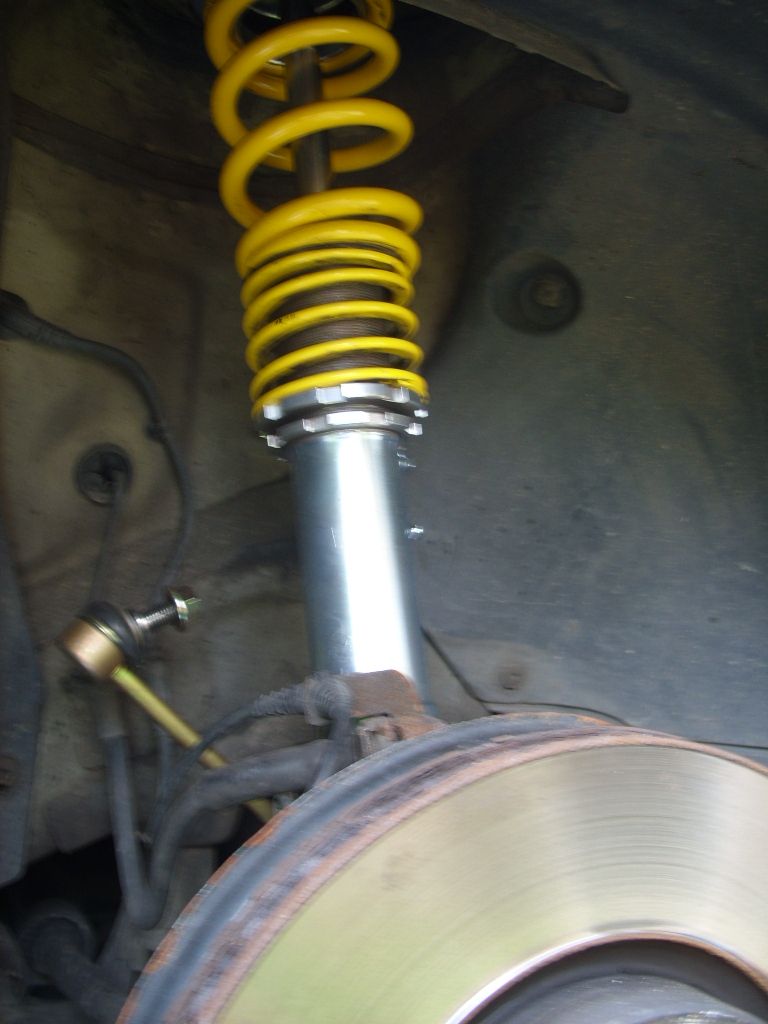
Fairly happy so far, been told to let it settle for 100 mile or so, just the rears to do now, any comments welcomed.... Howie..